Start from the image you already have
Load Image brings your own photo or reference onto the Marso Studio canvas. Upload it, drop or paste it, or add it from your Library, then connect it to any node that takes an image.
How to use your own photo in an AI 3D workflow
- 1Load Image
Add a Load Image node.
Pick Load Image from Add in the sidebar. Or drop an image file onto the canvas, or paste one, and the node makes itself.
- 2
Bring in your image.
Click the node to upload a PNG, JPG or WebP of up to 20 MB, or click Add to project on an image in your Asset Library. For a 3D model, crop the photo so the object fills the frame.
- 3
Connect it.
Wire its Image output to 3D Generation, to a reference of Image Edit, or to Detect Objects. One image can feed as many nodes as you need.
Your best starting point might already exist
Photos to 3D
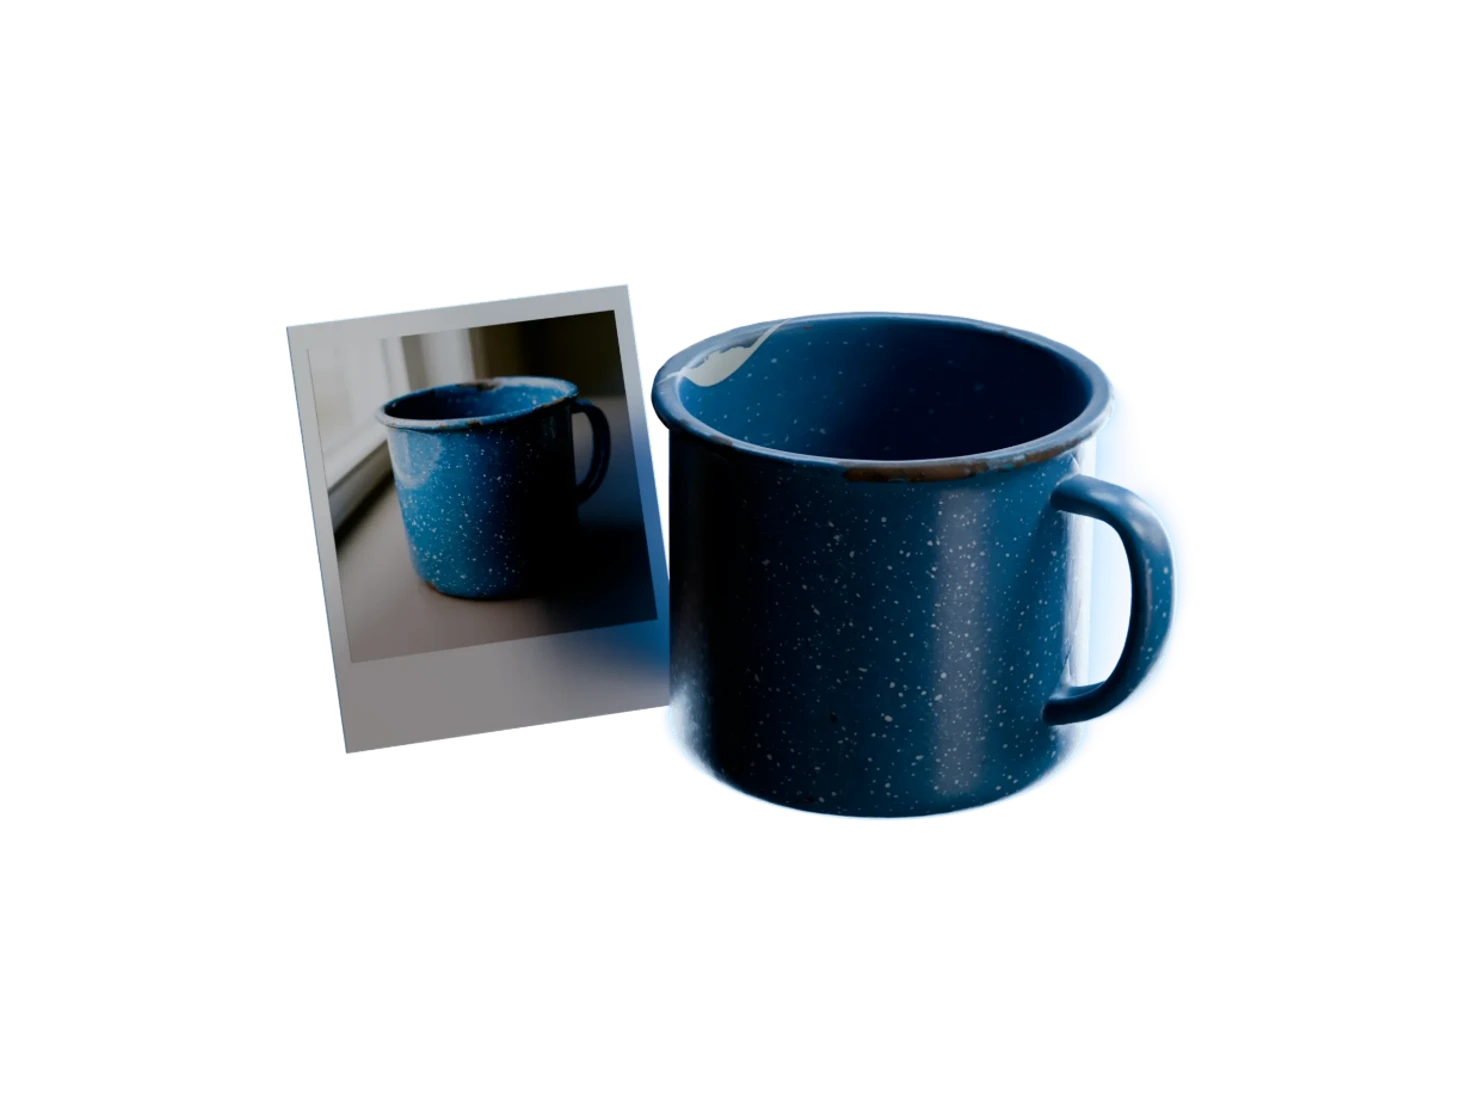
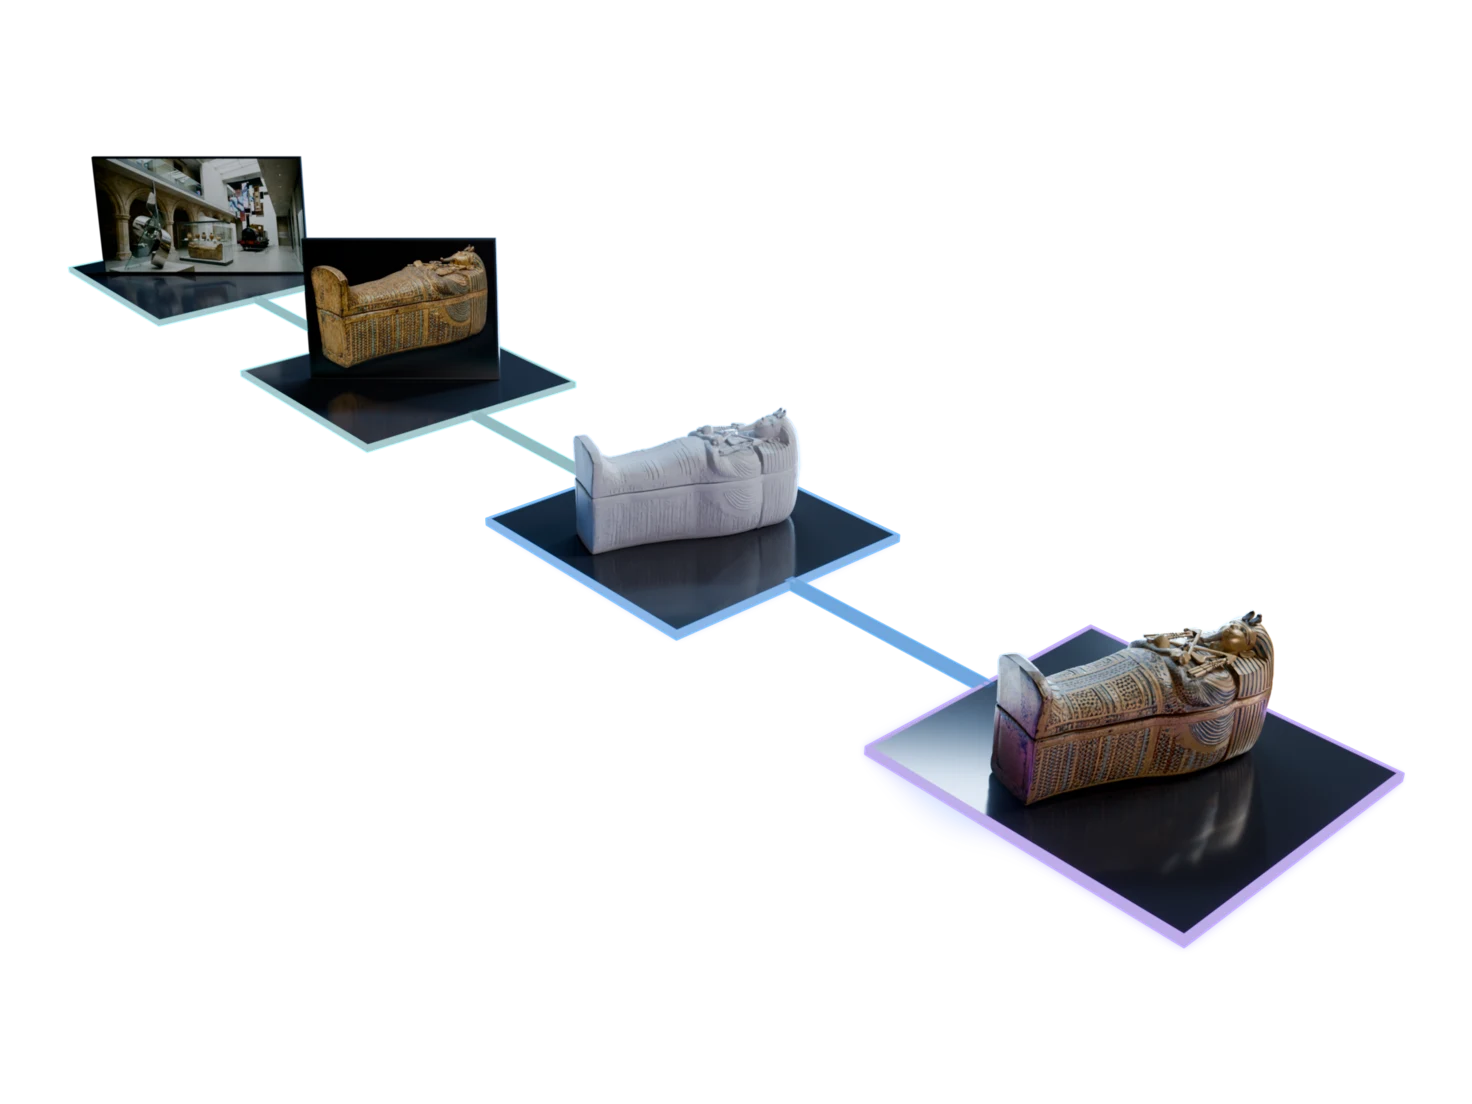
3D Generation works from real photos as well as generated images. Load a photo of one object and send it straight to a mesh. If the object is small in the frame, crop the photo first, or close in on it with Image Edit.
References you already trust
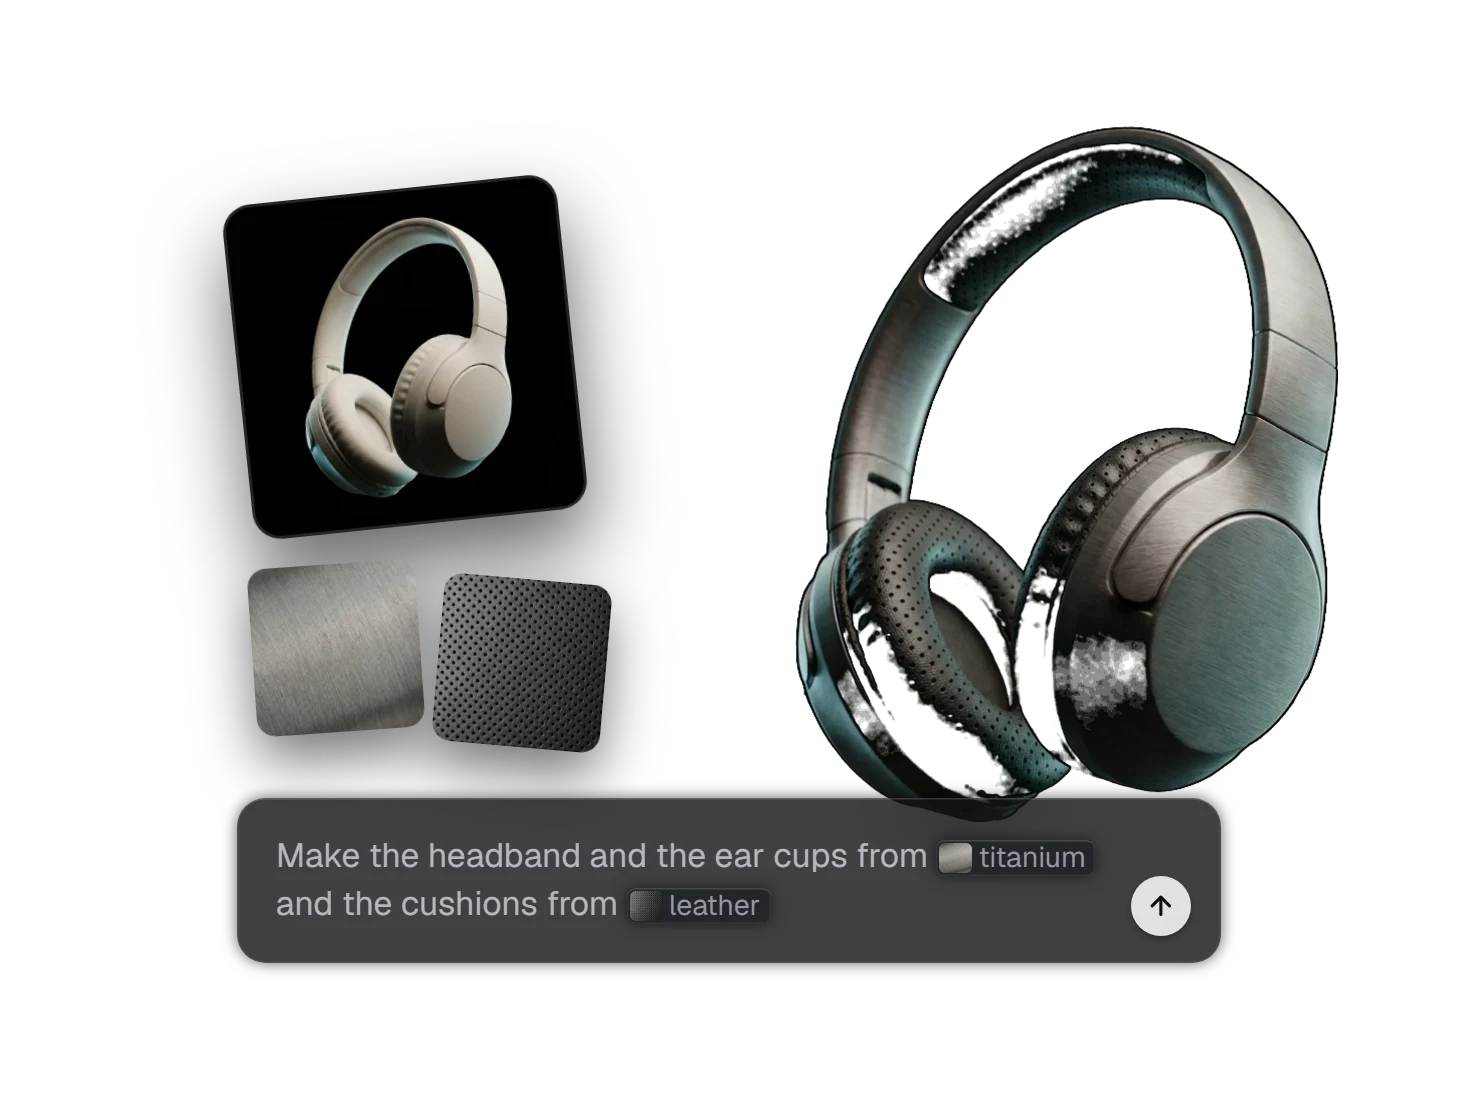
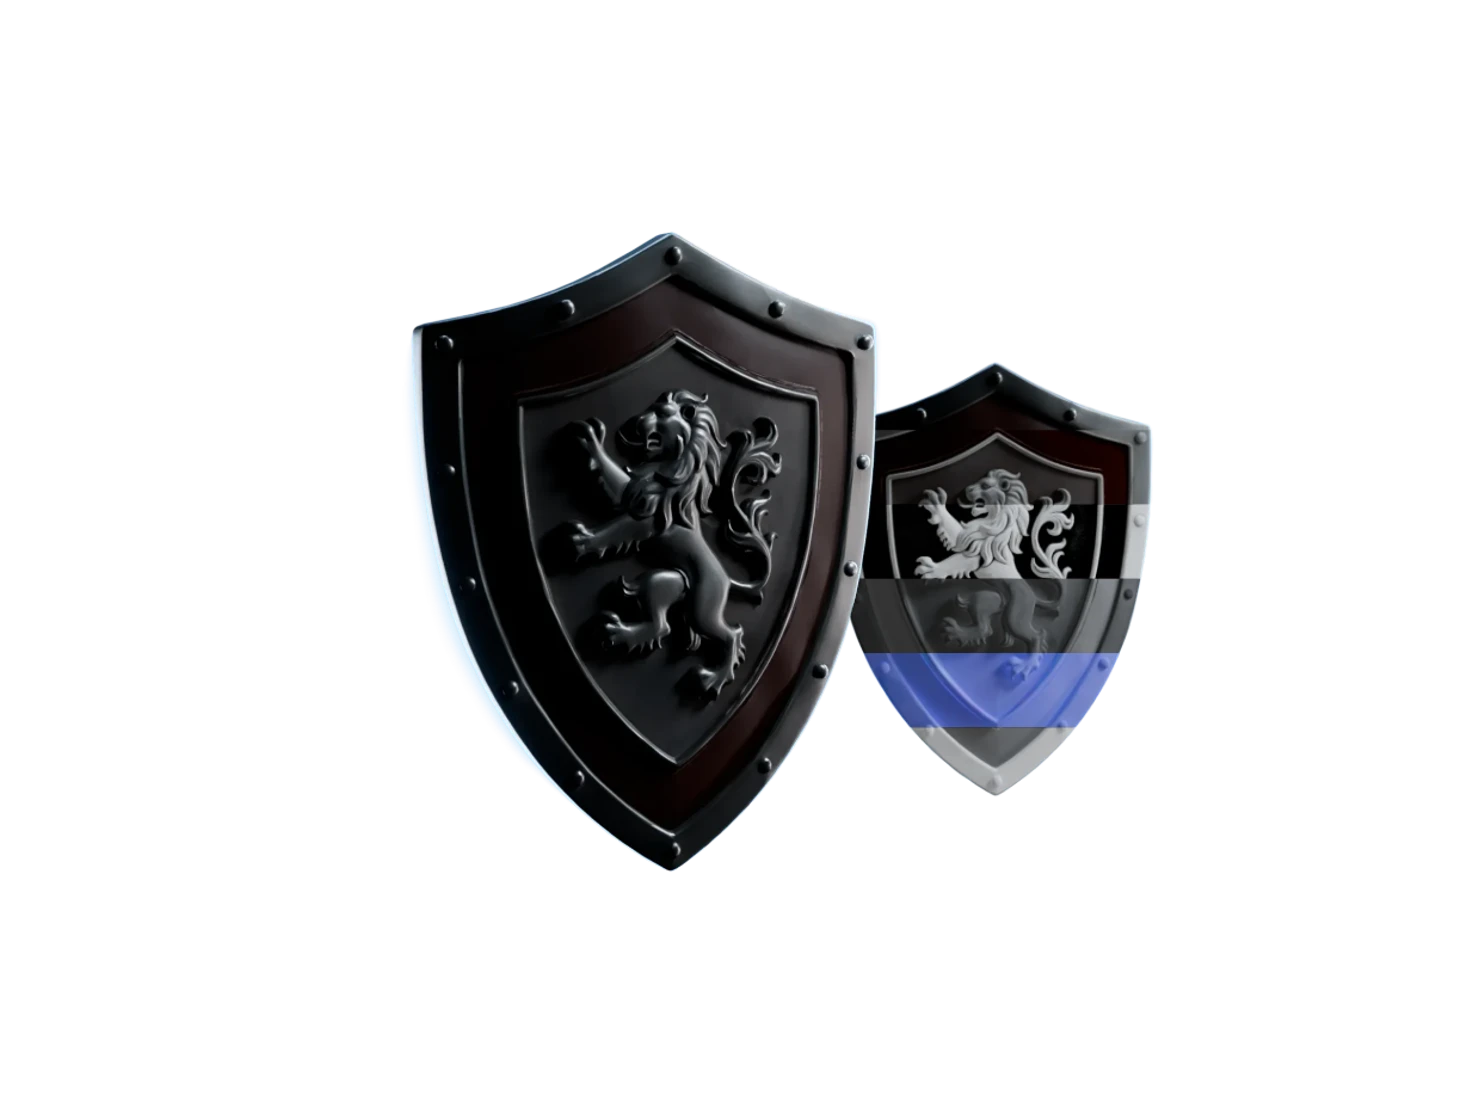
Load a material or a style you like, such as a leather swatch, and connect it as a reference of Image Generation or Image Edit. Mention it in the prompt with @, and the new image takes it on.
A real room, as assets
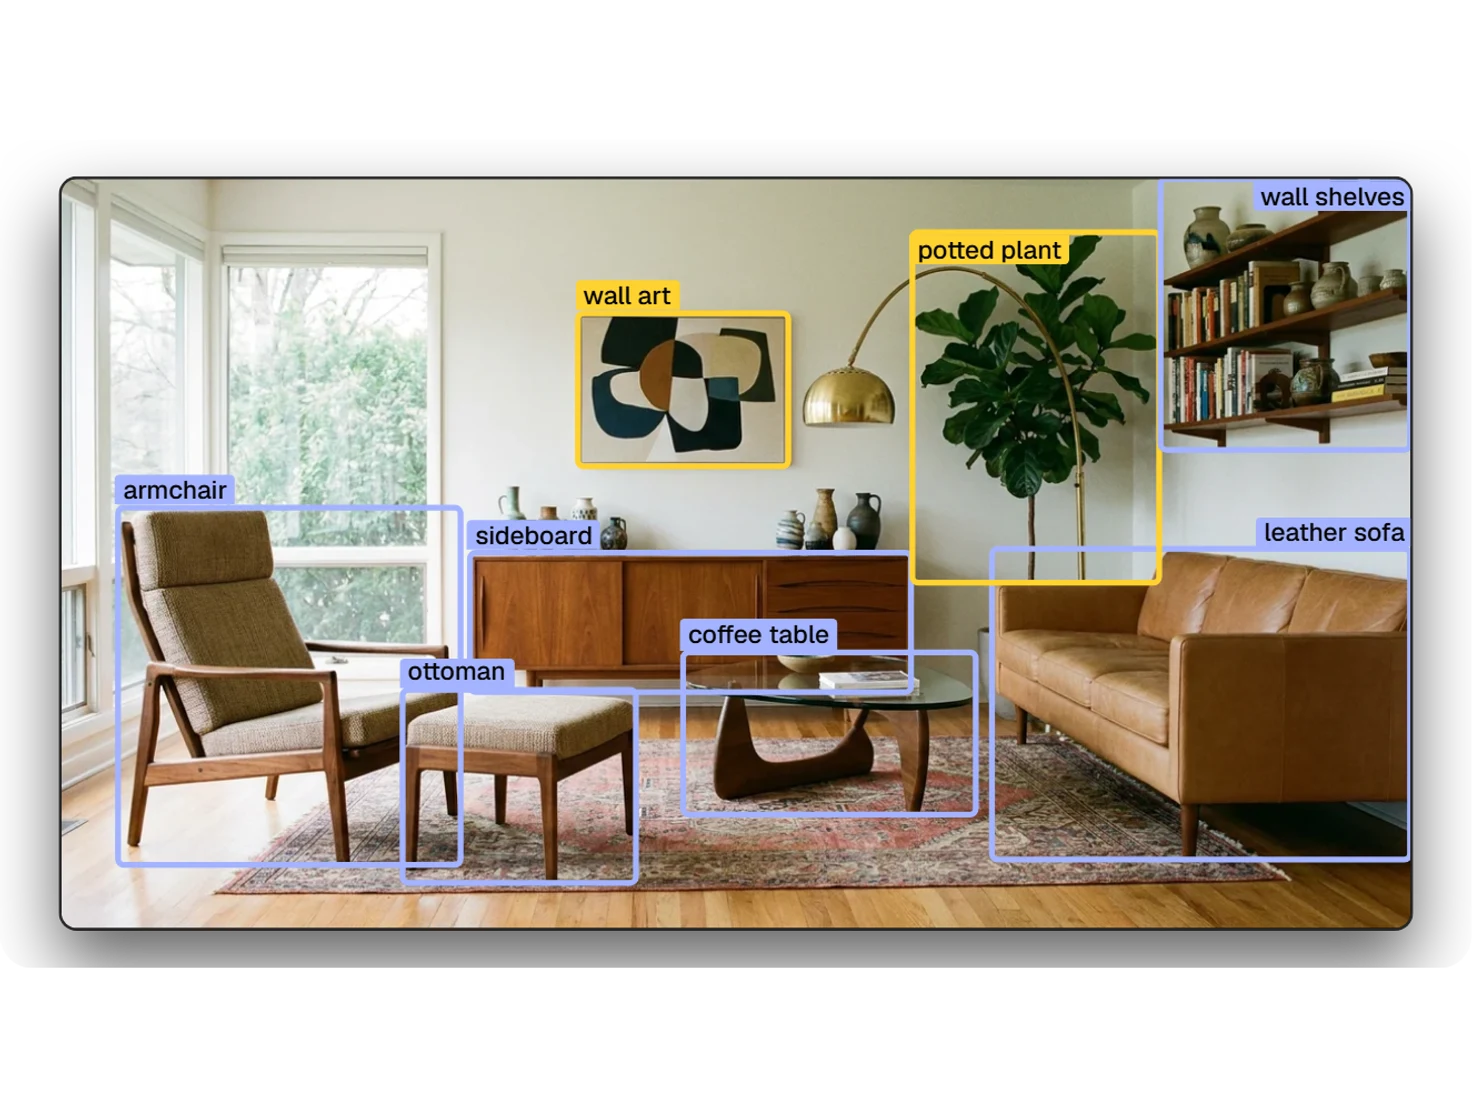
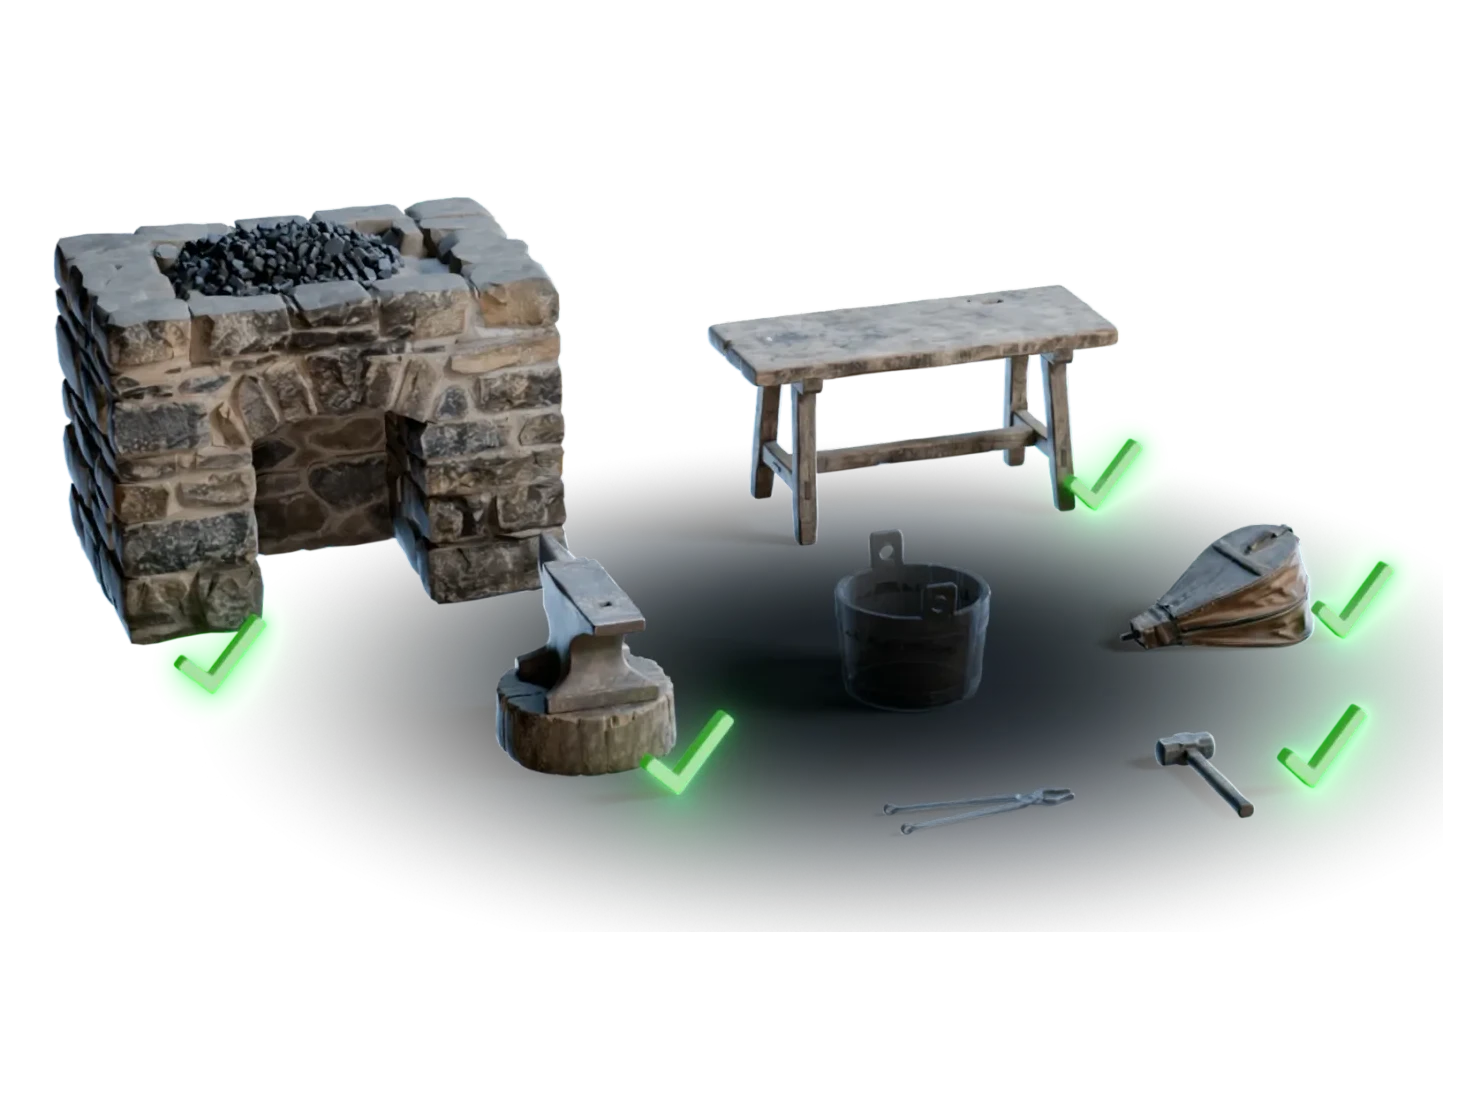
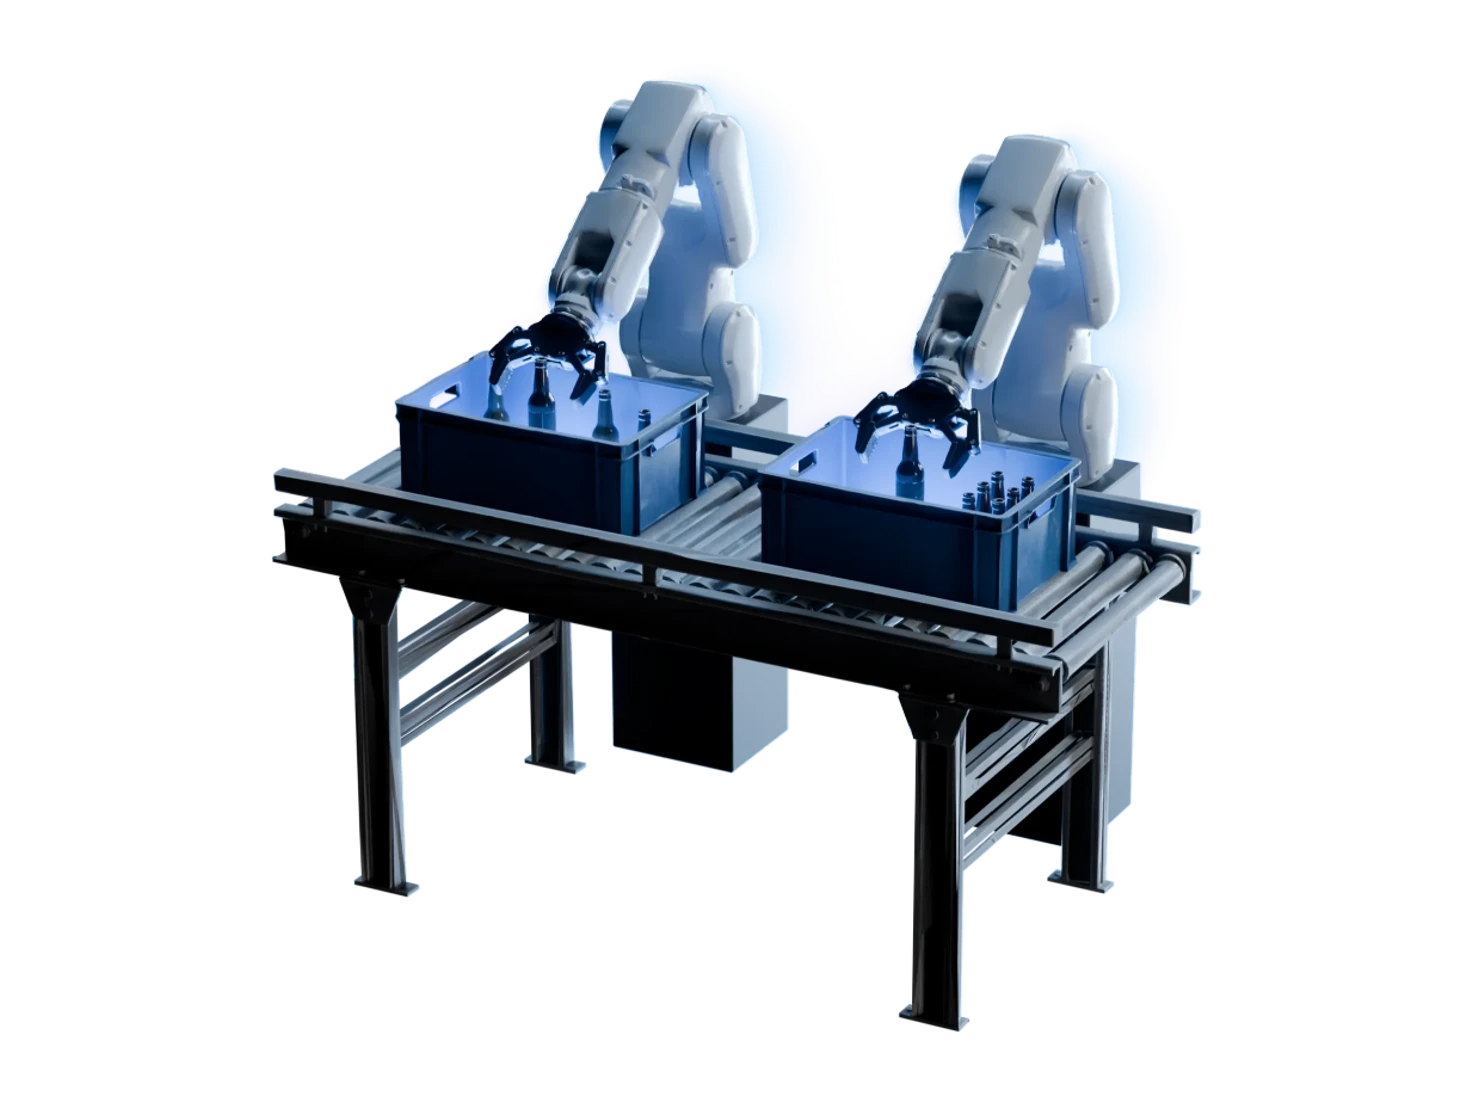
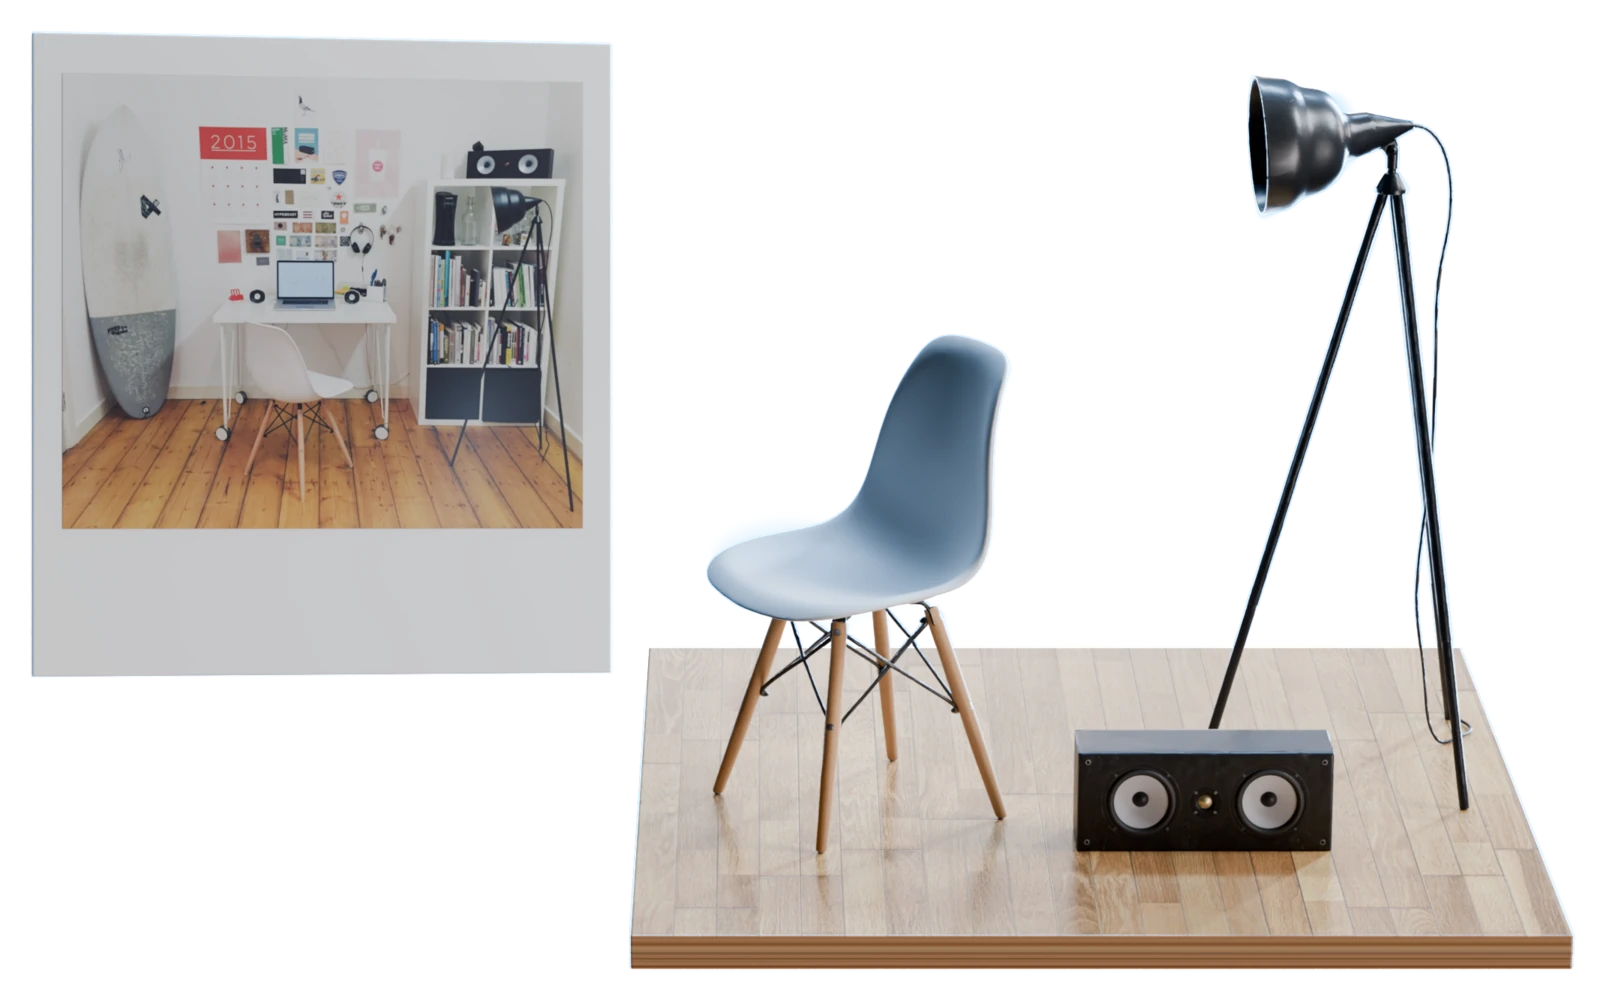
Load a photo of a real scene into Detect Objects, tick the objects you want, and each one goes on to 3D as its own asset.
Upload once, use it anywhere
Every image that you upload with Load Image joins your Asset Library. Add it to any other project later, up to twenty-five images at once, each in its own Load Image node.
Questions about Load Image
What artists ask before they build from their own photos. Load Image is on every plan, including the Free plan with 400 credits a month.
Add a Load Image node and click it to upload a PNG, JPG or WebP of up to 20 MB. You can also drop the file onto the canvas, or paste it with Ctrl+V (Cmd+V on a Mac), and Load Image makes the node for you. Then connect its Image output to the next node, such as Generate 3D Model.
Yes. Connect a Load Image node that holds the photo to a Generate 3D Model node: 3D Generation works from real photos as well as generated images. A photo of one object that fills the frame gives the best mesh. If the object is small, crop the photo first, or close in on it with Image Edit.
Yes. Every image that you upload with Load Image joins your Asset Library, with the images of all your other projects. Open Library on the canvas, find the image and click Add to project: it arrives in its own Load Image node. Select up to twenty-five images to add them all at once.
Yes. Load the photo, for example a leather swatch, and connect it to the references of Image Generation or Image Edit. Mention it in the prompt with @, and the new image takes on that material or style. One Load Image node can feed as many nodes as you need, thus one reference can steer many runs.
No. Load Image runs no model, so an upload costs no credits. Only the nodes that you connect it to, such as Generate 3D Model or Image Edit, spend credits when they run, and the tooltip of each run button shows the cost before you start.
Load Image takes PNG, JPG and WebP files of up to 20 MB each. Load Image checks each file before the upload, thus a wrong format or a file that is too large stops at once with a message. A phone photo, a screenshot, a render and a texture swatch all work.
Start from what you have
Bring in a photo or a reference, and build 3D assets from it.