PBR materials and AI 3D assets, without leaving Blender
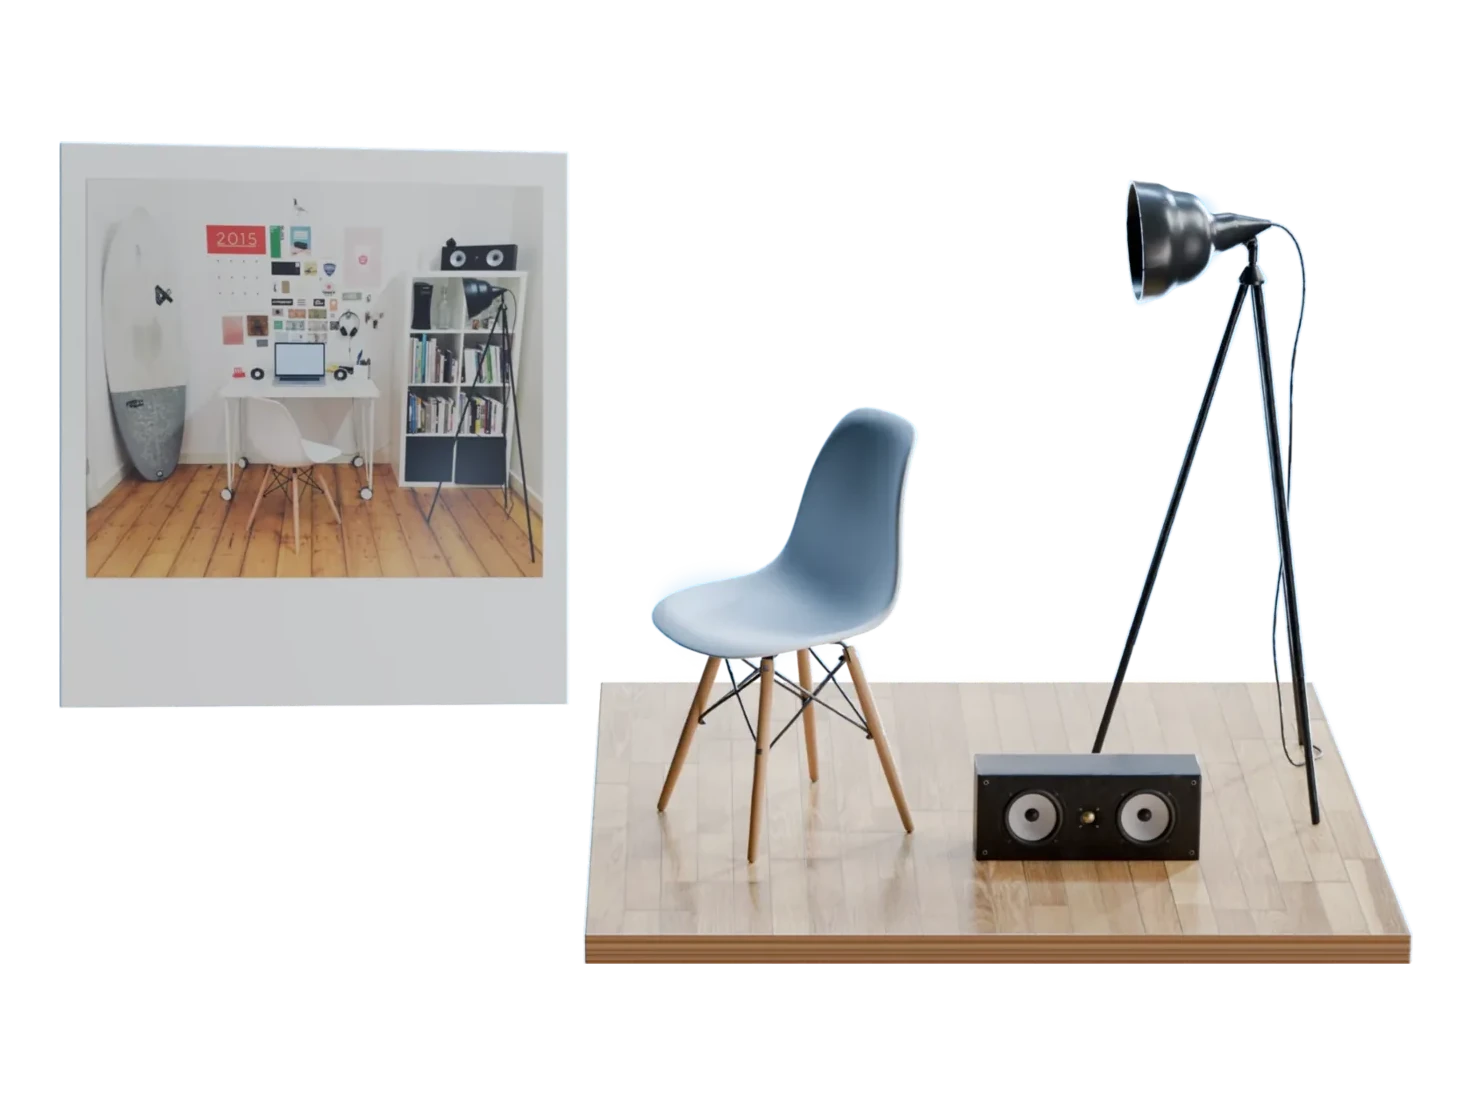
Marso, the Marso Studio add-on for Blender, puts your library in the sidebar of the 3D Viewport. Import assets as USD, give your own meshes PBR materials, and make new 3D assets from a prompt.
How to add AI PBR materials and 3D assets in Blender
- 1
Install the add-on.
Download the Marso add-on from Plugins on marso.app. In Blender 5.2, open Edit > Preferences > Extensions, choose Install from Disk, and turn on Marso.
- 2mxr_live_
Connect your account.
Paste a key from API Keys on marso.app into the preferences of the Marso add-on, then set a Cache Path and a Downloads Path.
- 3
Import from your library.
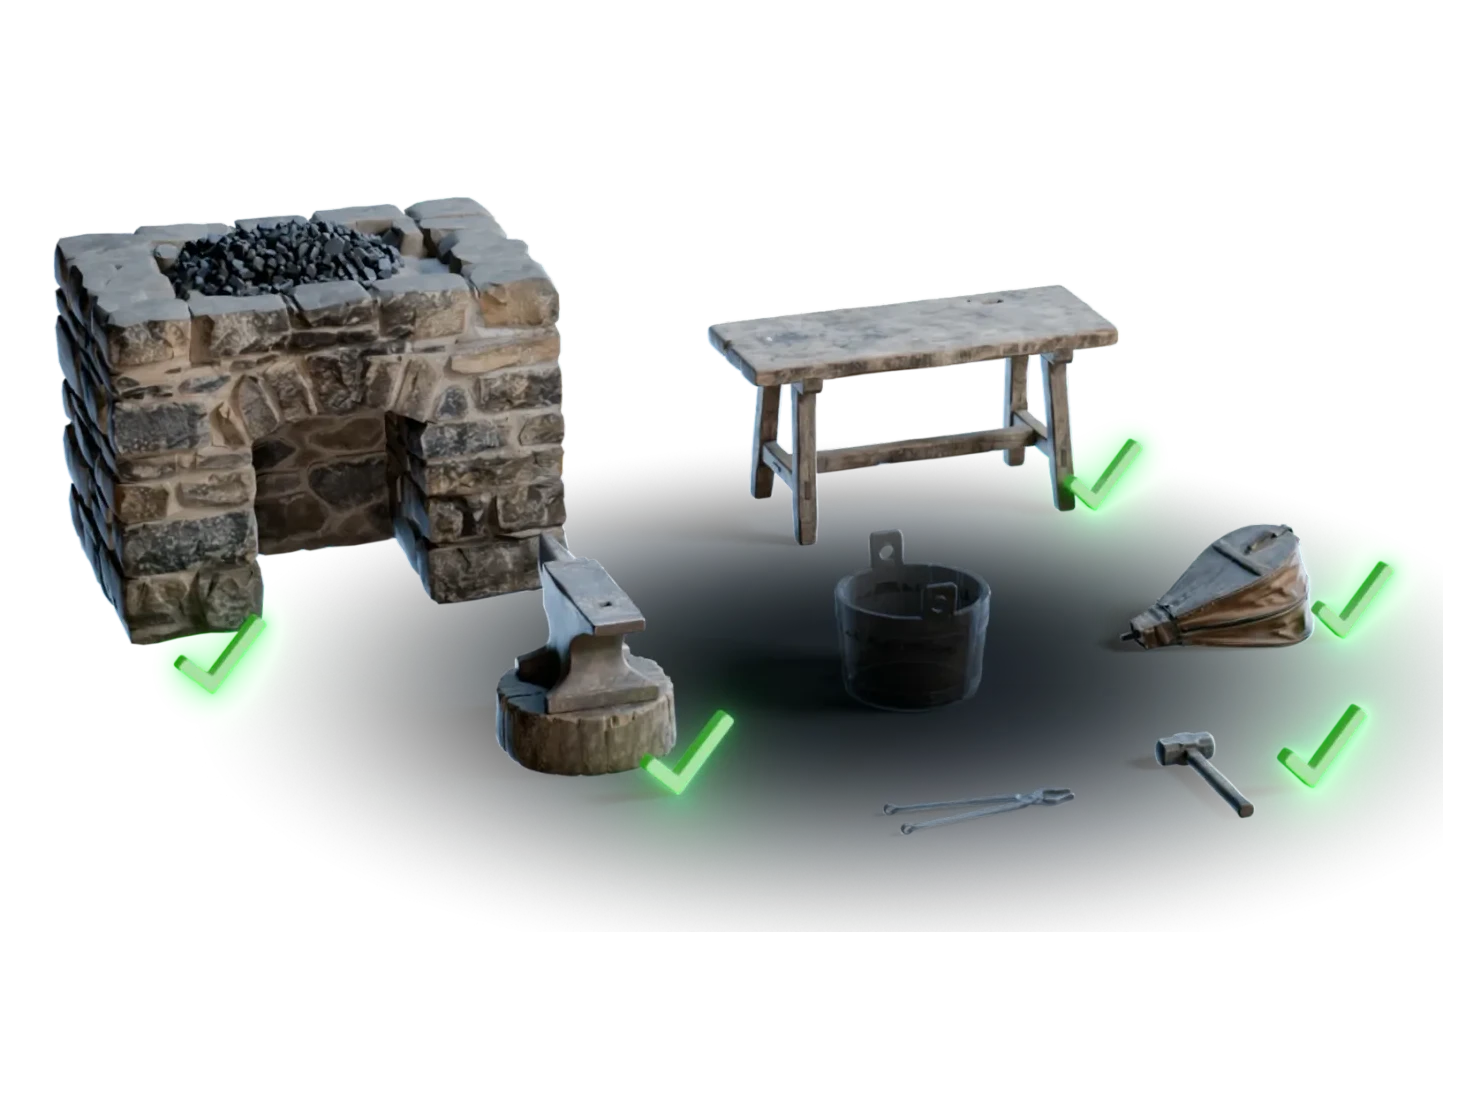
Press N and open the Marso tab. The Library panel lists the projects of your Asset Library. Import one asset or a full project as USD.
- 4
Add PBR to your meshes.
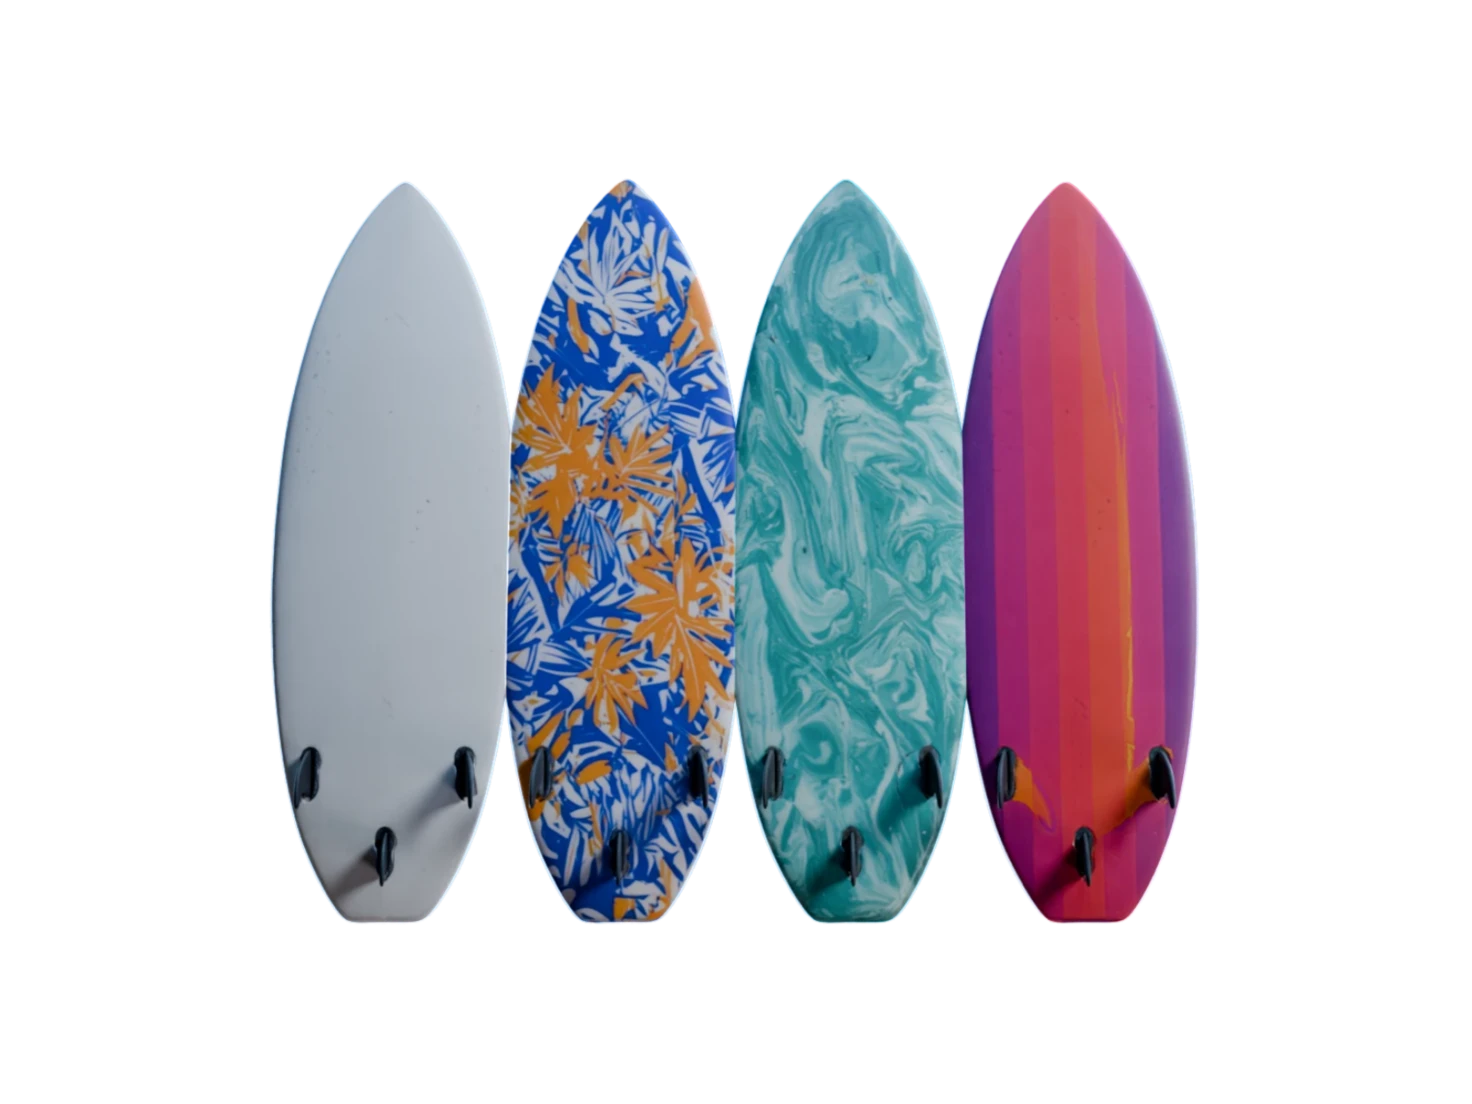
Queue the meshes of your scene in Auto PBR. Marso generates PBR textures for each mesh, and wires the maps into its material.
Texture, create and find assets without leaving your scene
PBR for the meshes you already have
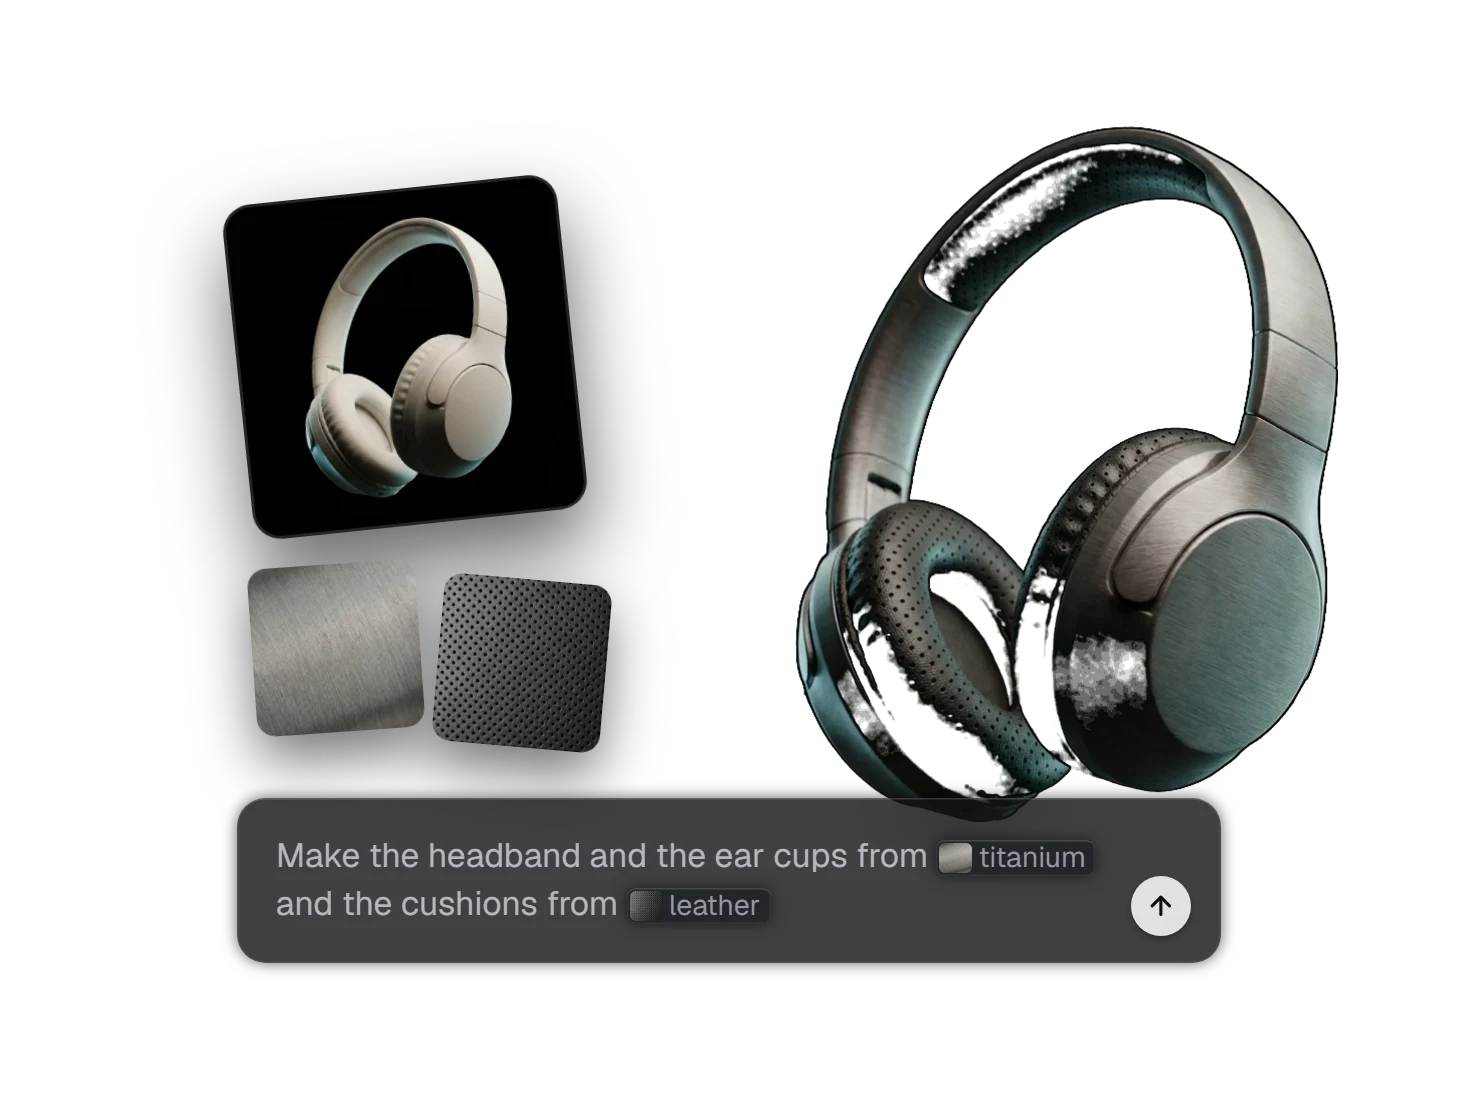
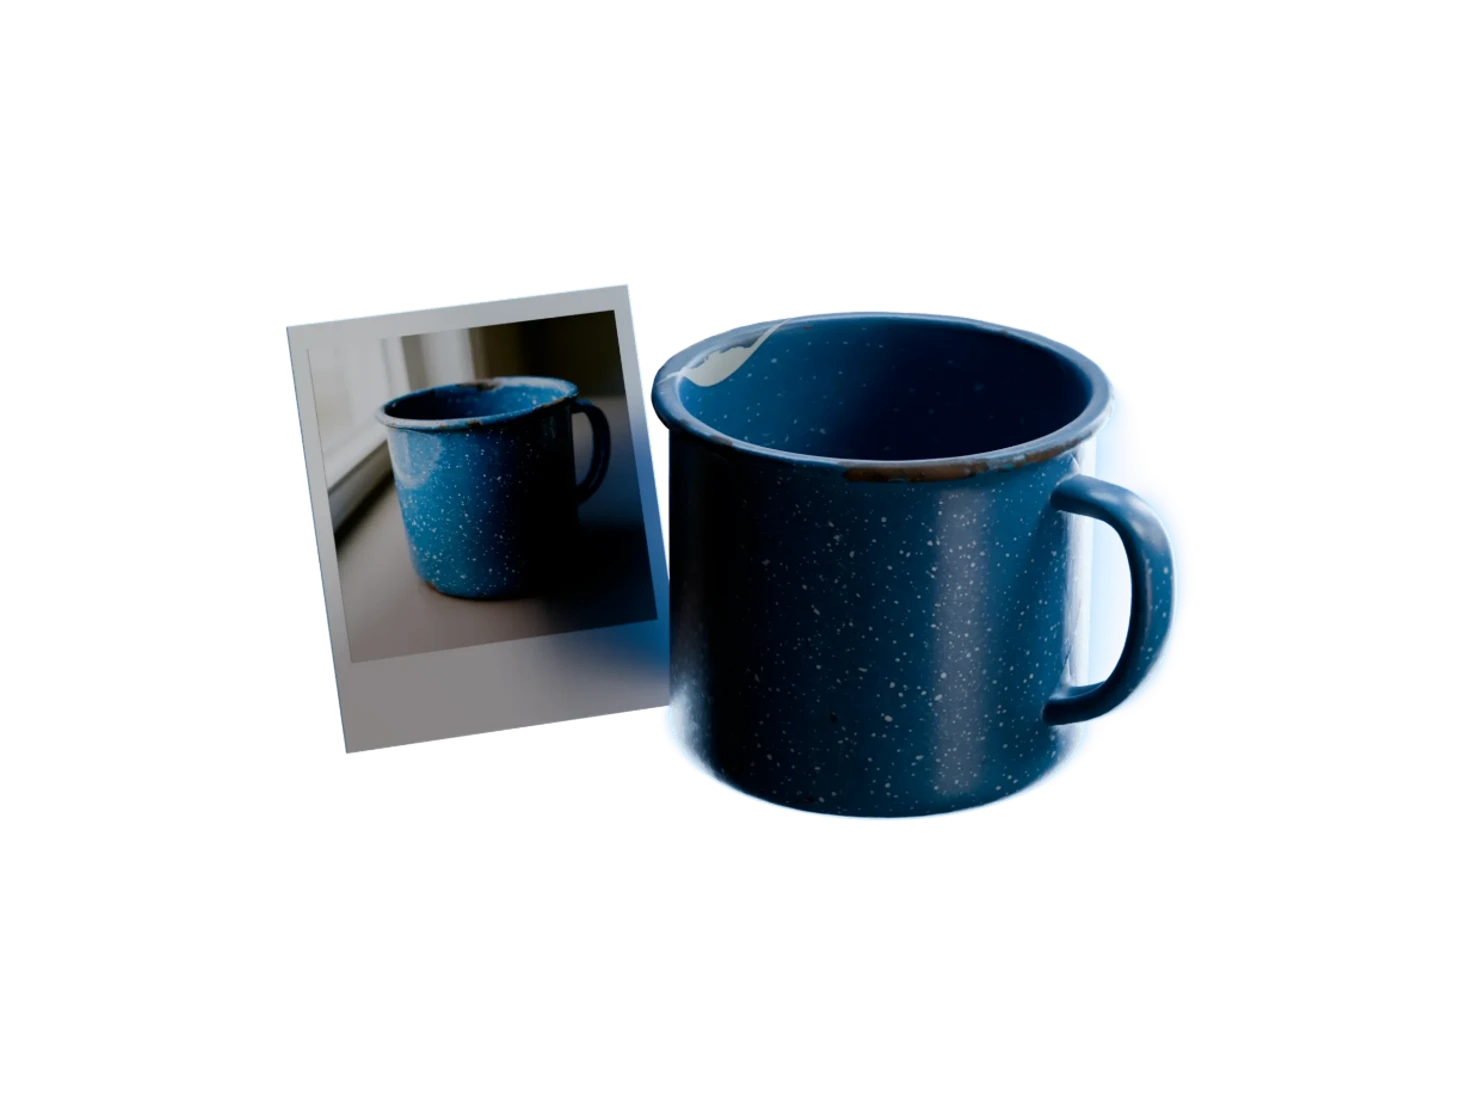
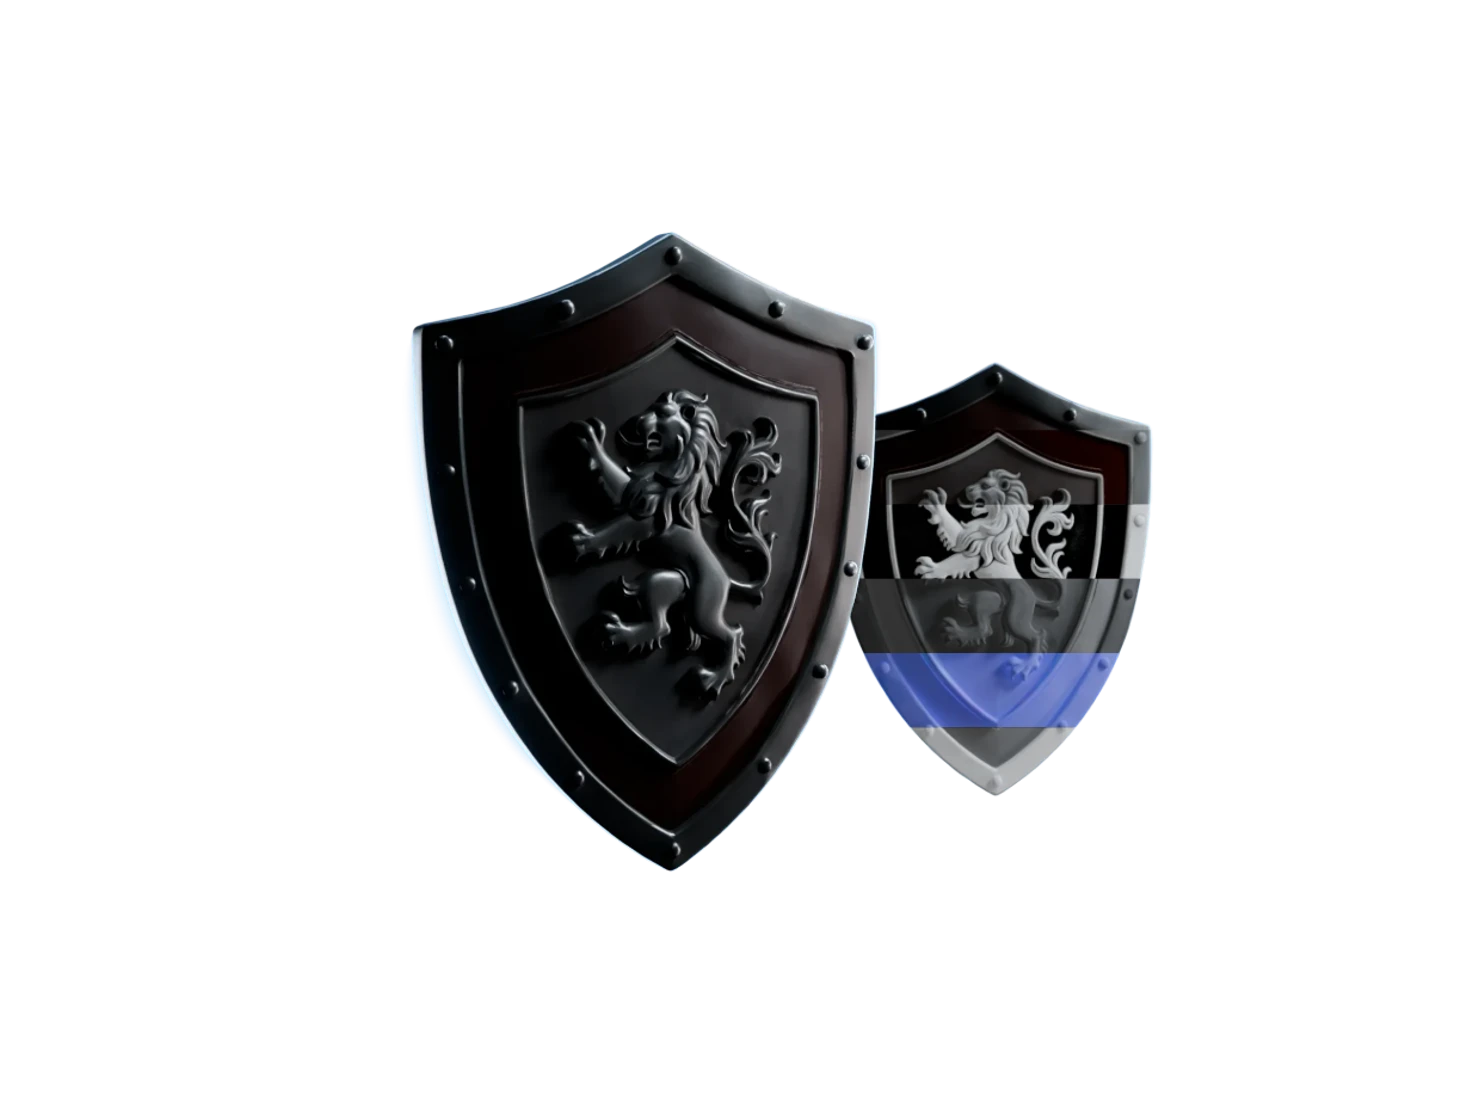
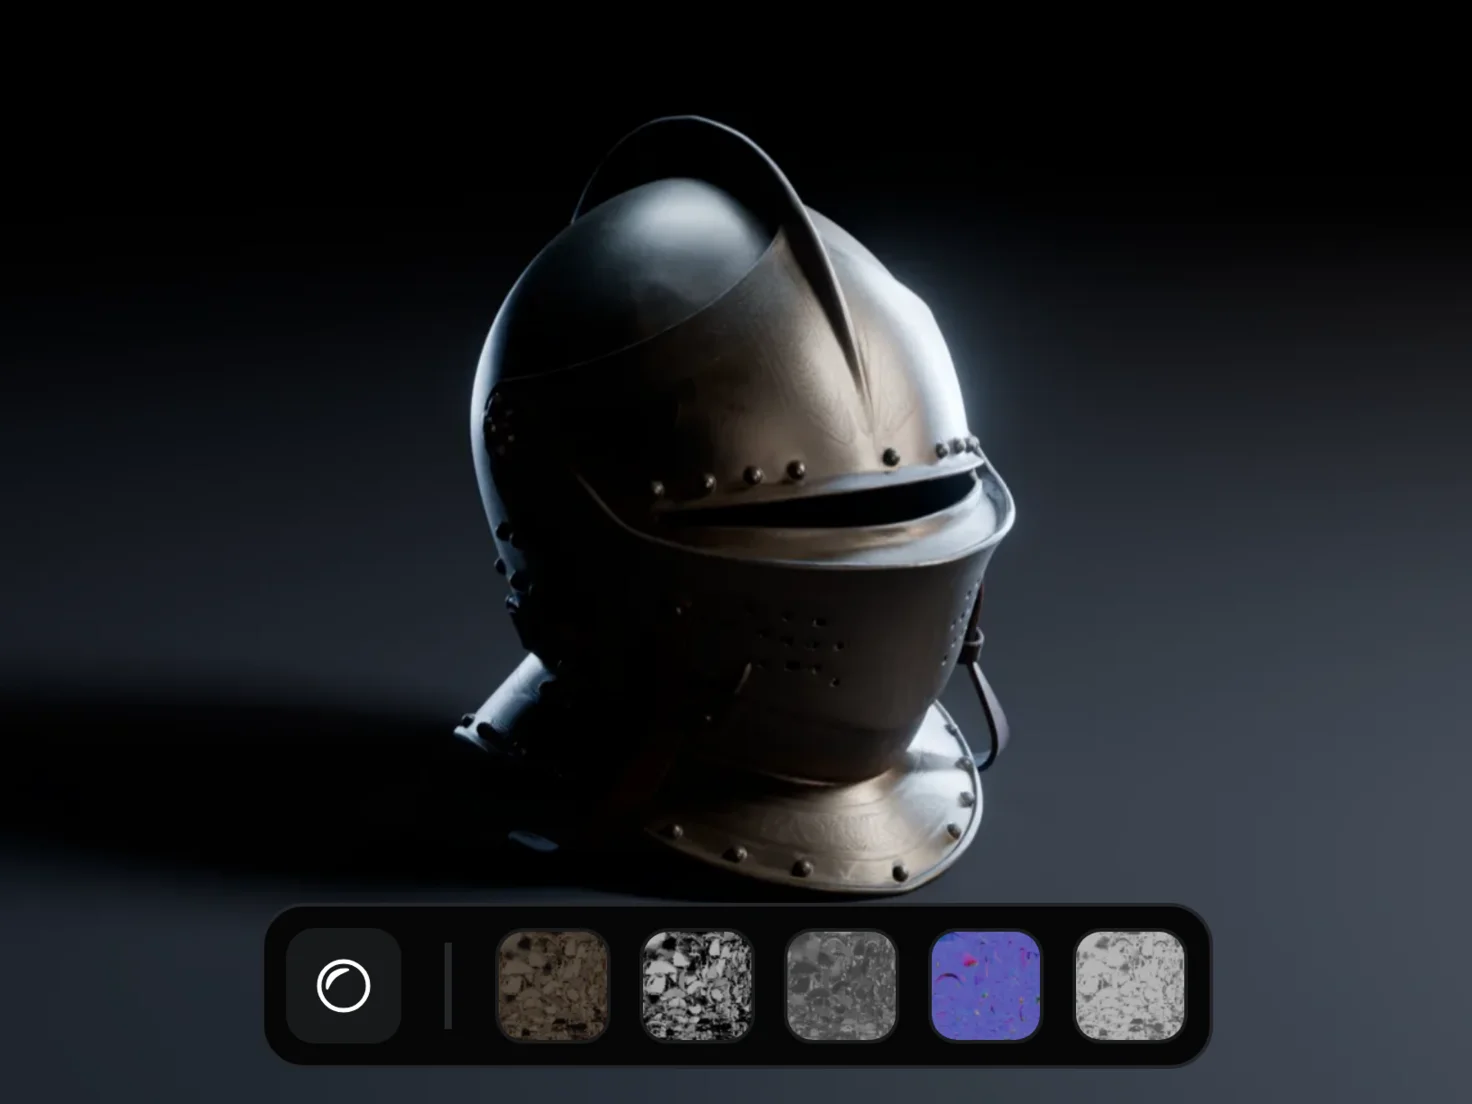
Auto PBR in the Marso add-on keeps the look of a mesh and adds albedo, normal, roughness, metallic and IOR maps to its own material. Material from Image turns a flat picture, such as a photo of a fabric, into a PBR material.
New assets from a prompt
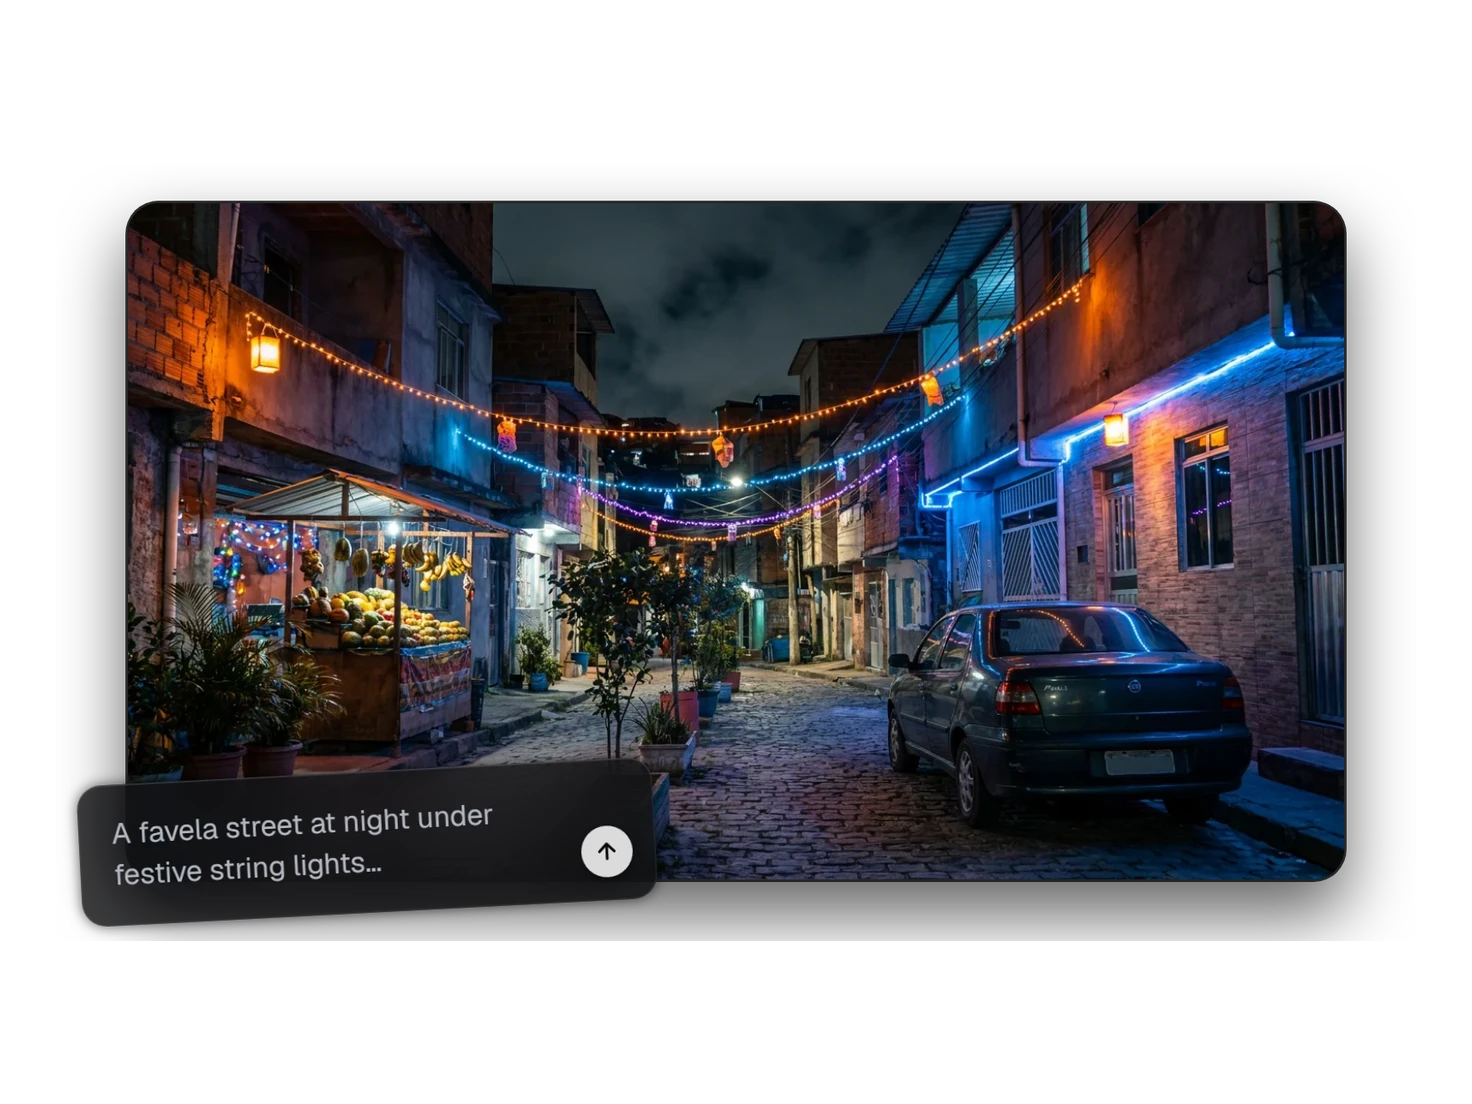
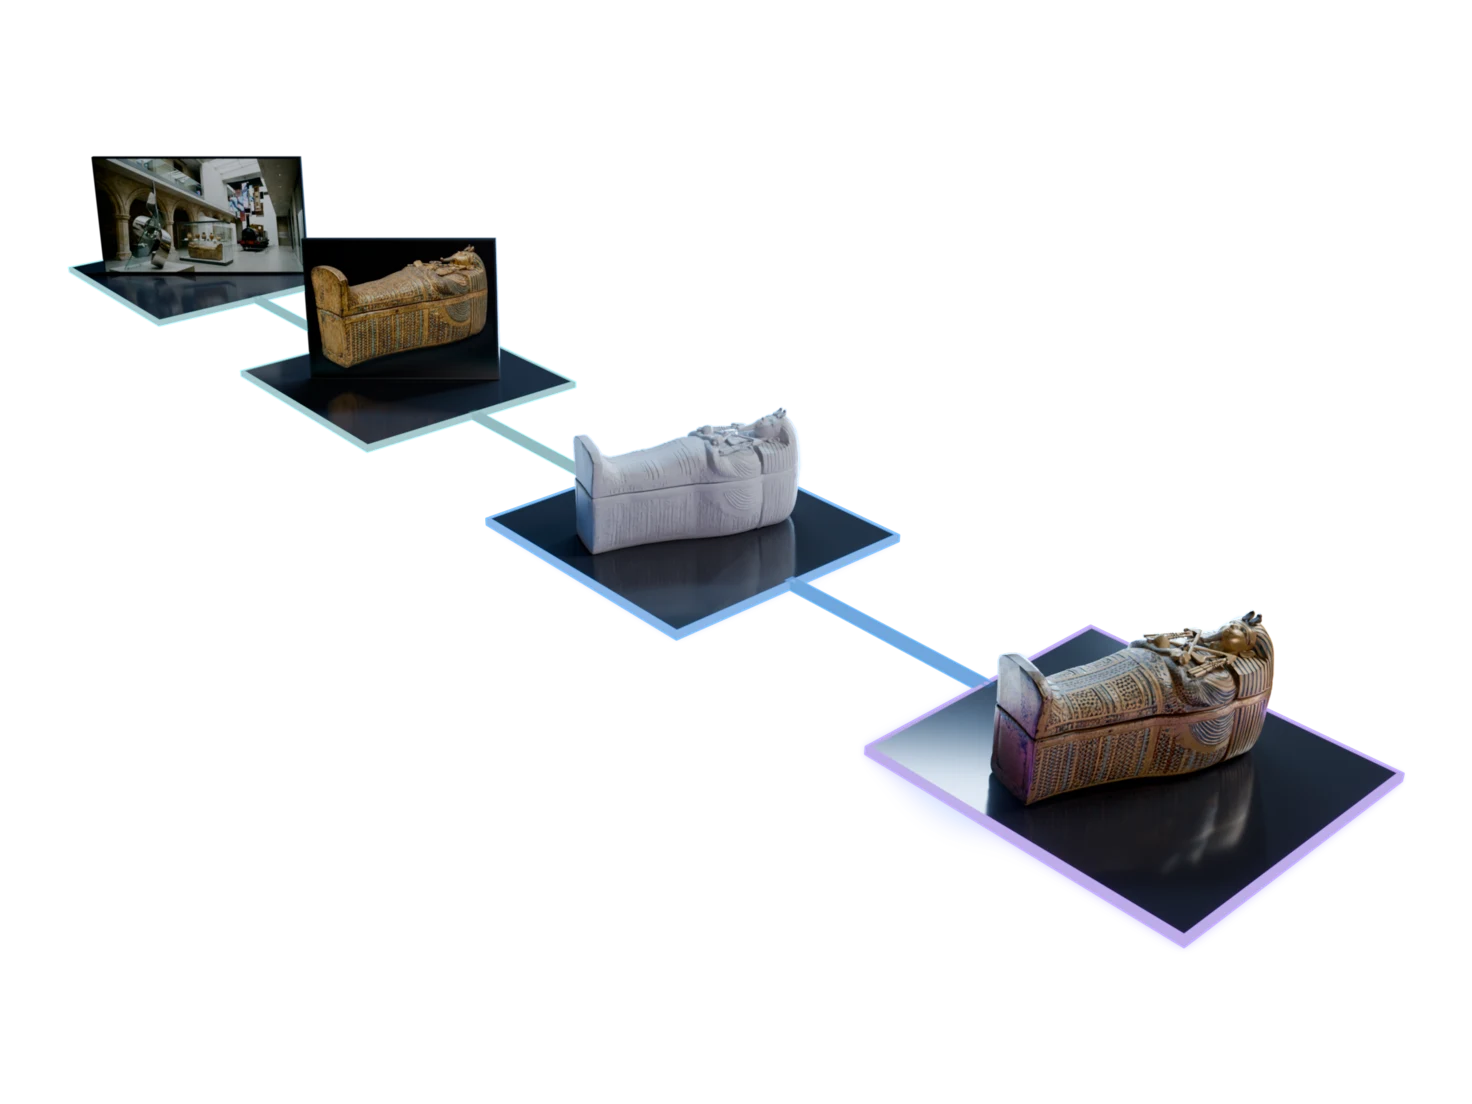
Create 3D Asset in the Marso add-on makes an image from your prompt with Image Generation, then a textured model with 3D Generation. Choose Hunyuan 3D 3.1 Pro, Meshy or Tripo, and see the cost before you press the button.
Find any asset, then read its physics
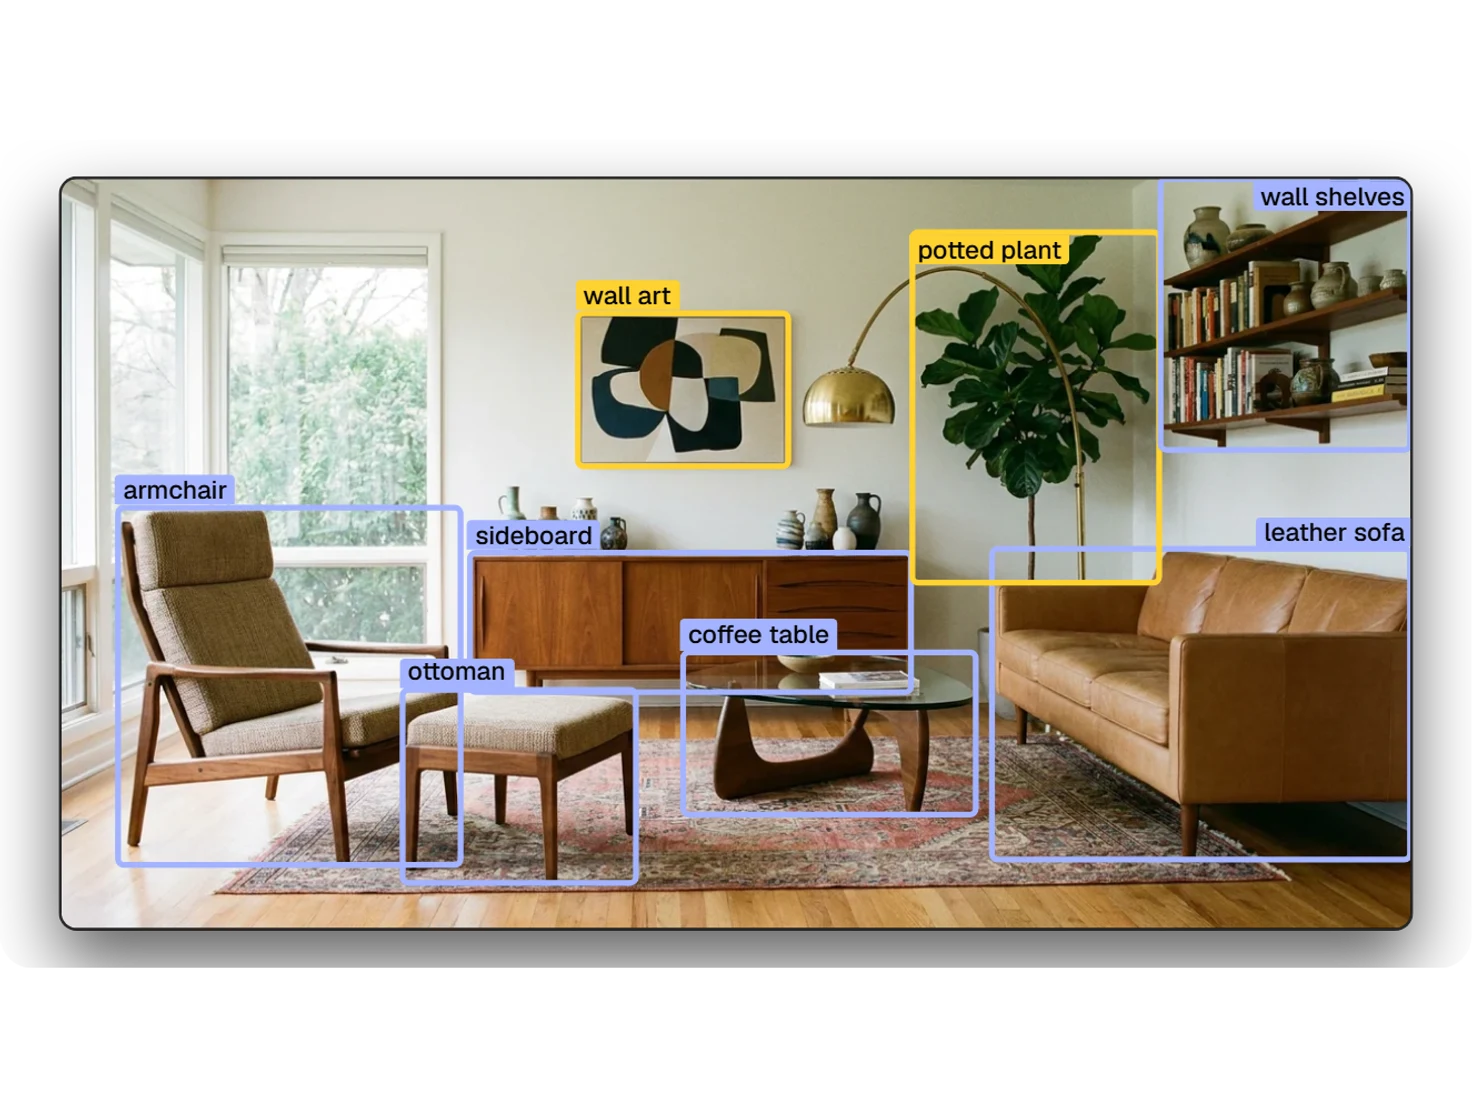
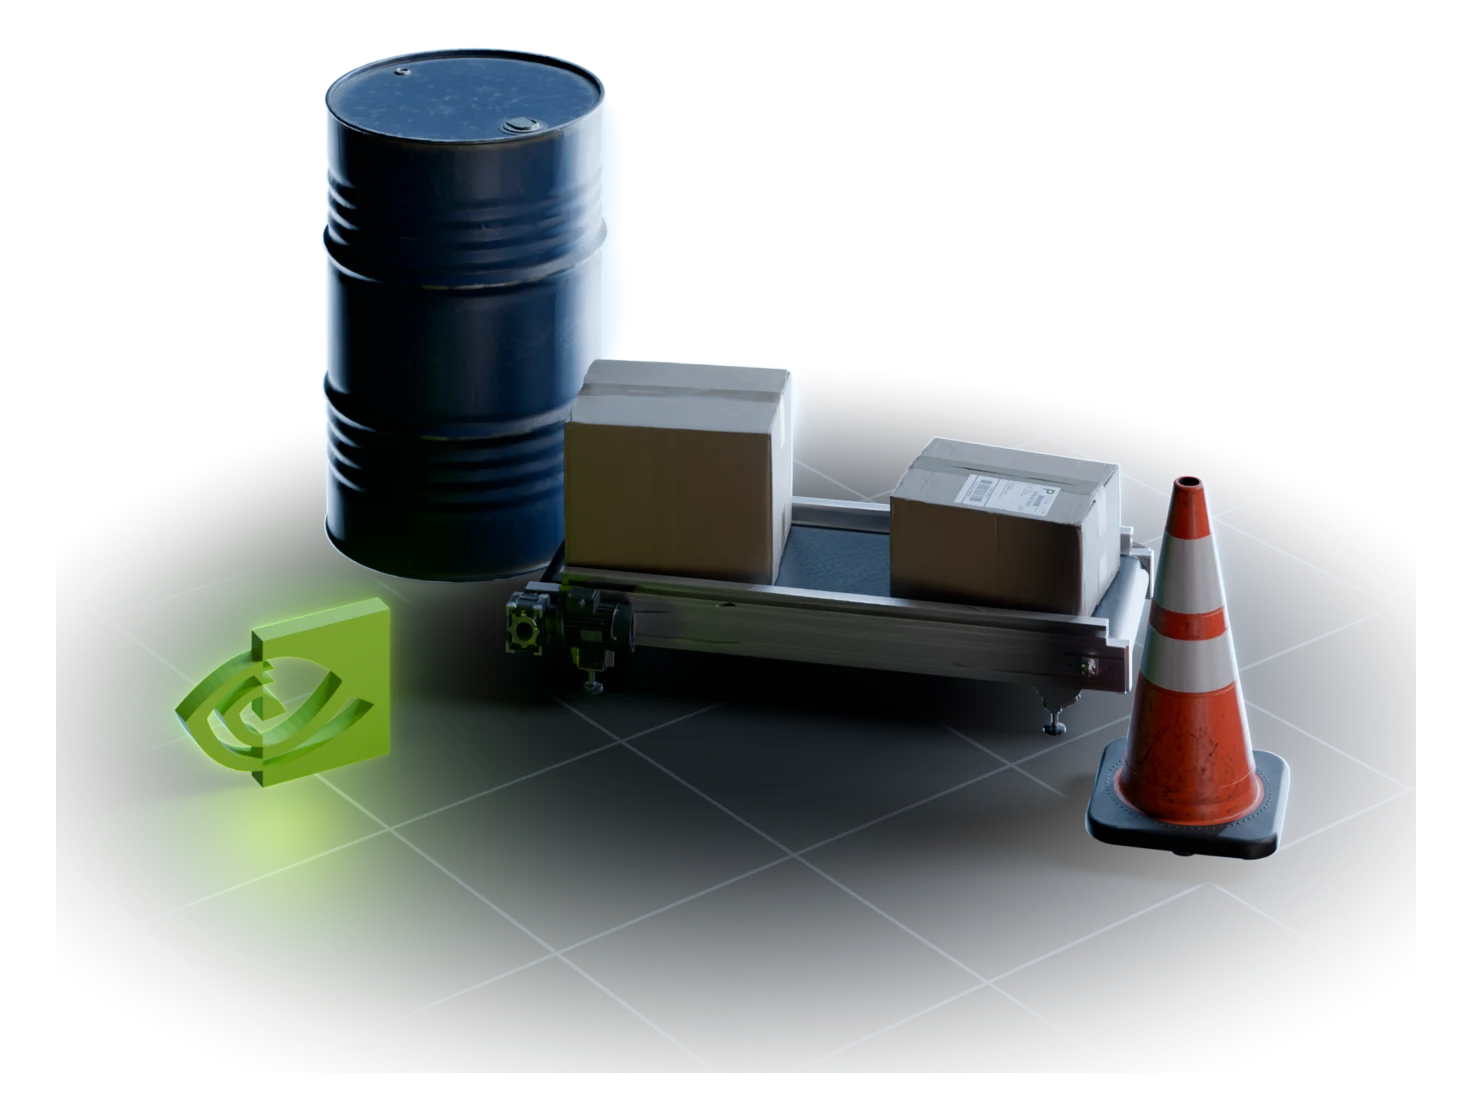
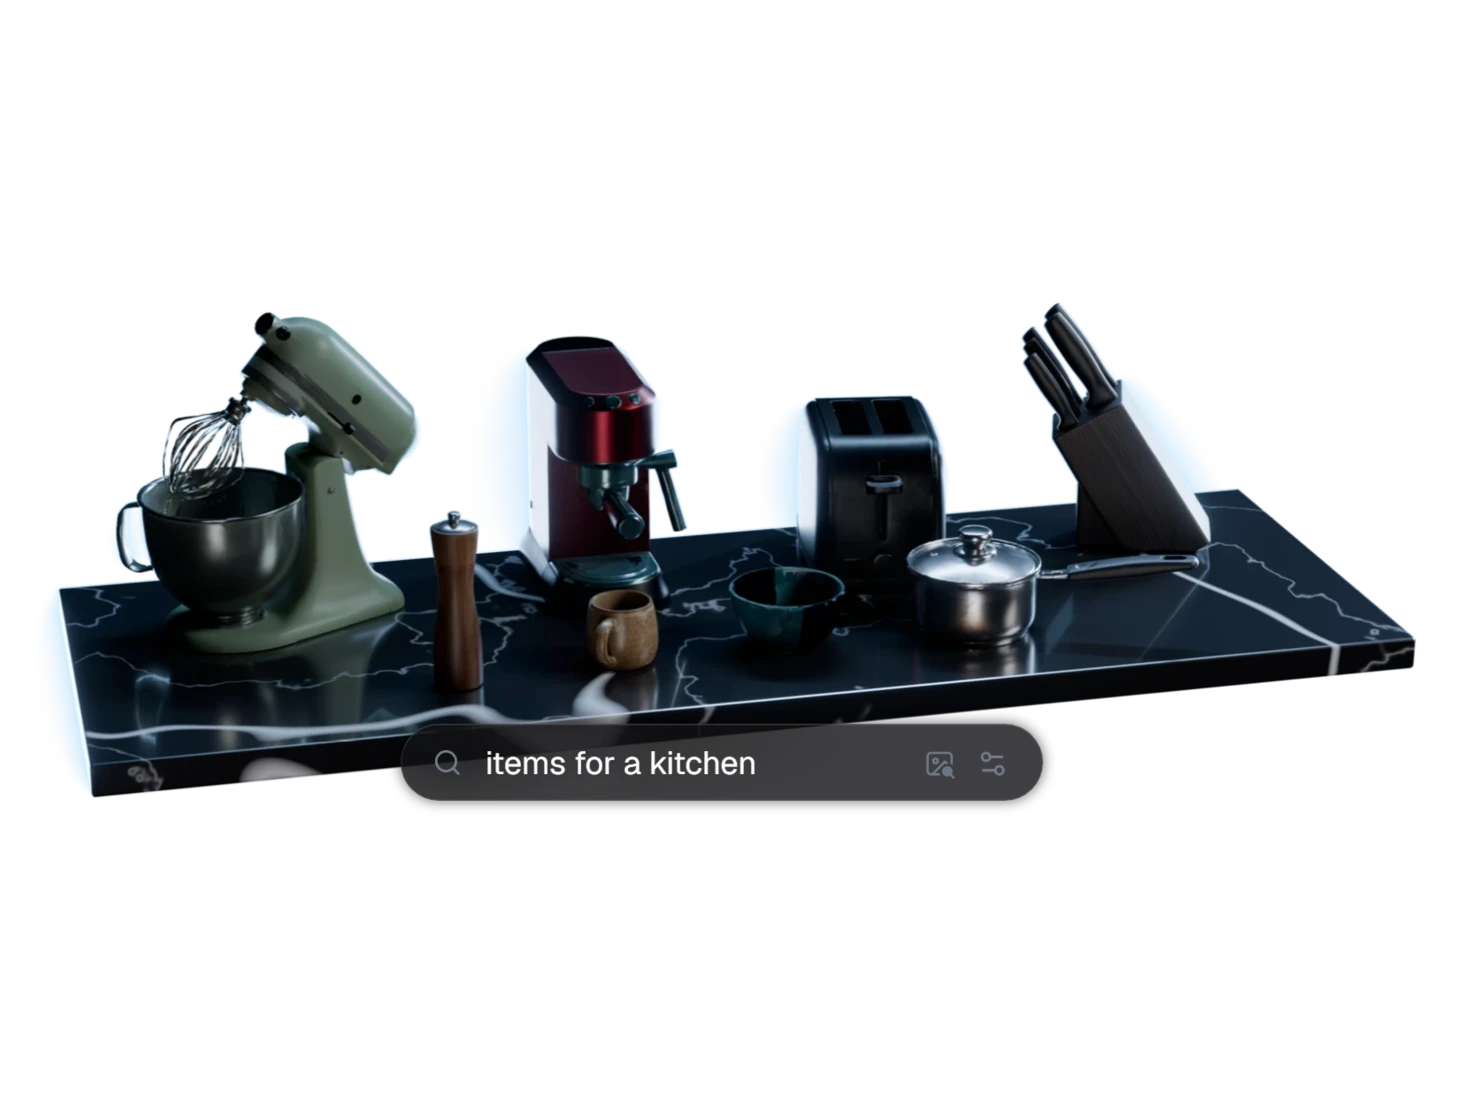
The Find mode of the Library panel in the Marso tab searches your library by a description, a picture or both, as Image Search does. Sim-Ready Info shows the real-world size, mass, friction and collider in the USD of a simulation-ready asset.
Let your agent work in the scene
Turn on Connect to Marso Agents, and Claude, ChatGPT or Codex can import assets, add PBR materials and render through the Marso MCP. The Marso add-on checks each command first: an agent cannot run Python, read your files or use the Create panel.
Questions about the Blender add-on
What 3D artists ask before they install Marso in Blender. The add-on works on every paid plan and on the 14-day trial.
The Marso Studio add-on for Blender, named Marso, is an extension that opens as a tab in the sidebar of the 3D Viewport. The Marso add-on imports assets from your Marso Studio library as USD, adds PBR materials to the meshes of your scene, and makes new textured 3D assets from a prompt or an image.
Download the zip of the Marso add-on from the Plugins page on marso.app. In Blender, open Edit > Preferences > Extensions, choose Install from Disk, select the zip and turn on Marso. Then paste a Marso Studio API key into the preferences of the add-on, and set a Cache Path and a Downloads Path.
The Marso Studio add-on supports Blender 5.2 LTS or later, on Windows, macOS and Linux. The Marso add-on needs an internet connection, because Marso Studio makes each asset and each PBR material in the cloud, not on your machine. Your downloads stay in the Downloads Path that you set.
Yes. The Blender add-on connects through the Marso Studio API, which every paid plan includes and the Free plan does not. The Artist plan has a 14-day free trial. Auto PBR and Create 3D Asset spend credits from the same balance as the web app, and a cost card shows the cost before each run.
Yes. Auto PBR in the Marso Studio add-on uploads each mesh that you queue, then wires albedo, normal, roughness, metallic and IOR maps into the material of that mesh. The mesh stays in your scene. Read more about Generate PBR Textures, the feature that makes the maps.
Yes. Turn on Connect to Marso Agents in the preferences of the Marso Studio add-on, then add the Marso Studio MCP server to Claude, ChatGPT or Codex. The agent can then import assets, add PBR materials, build a studio and render. The agent cannot run Python, read local files or use the Create panel.
PBR materials and AI 3D assets, without leaving Blender
Make it in Marso Studio, then texture and import it from the sidebar of Blender.