Workflows
From a prompt or a mesh to an asset you can ship
Each workflow puts the Marso Studio nodes in order for one job, from the first input to the file you open in your engine, Blender or simulator.
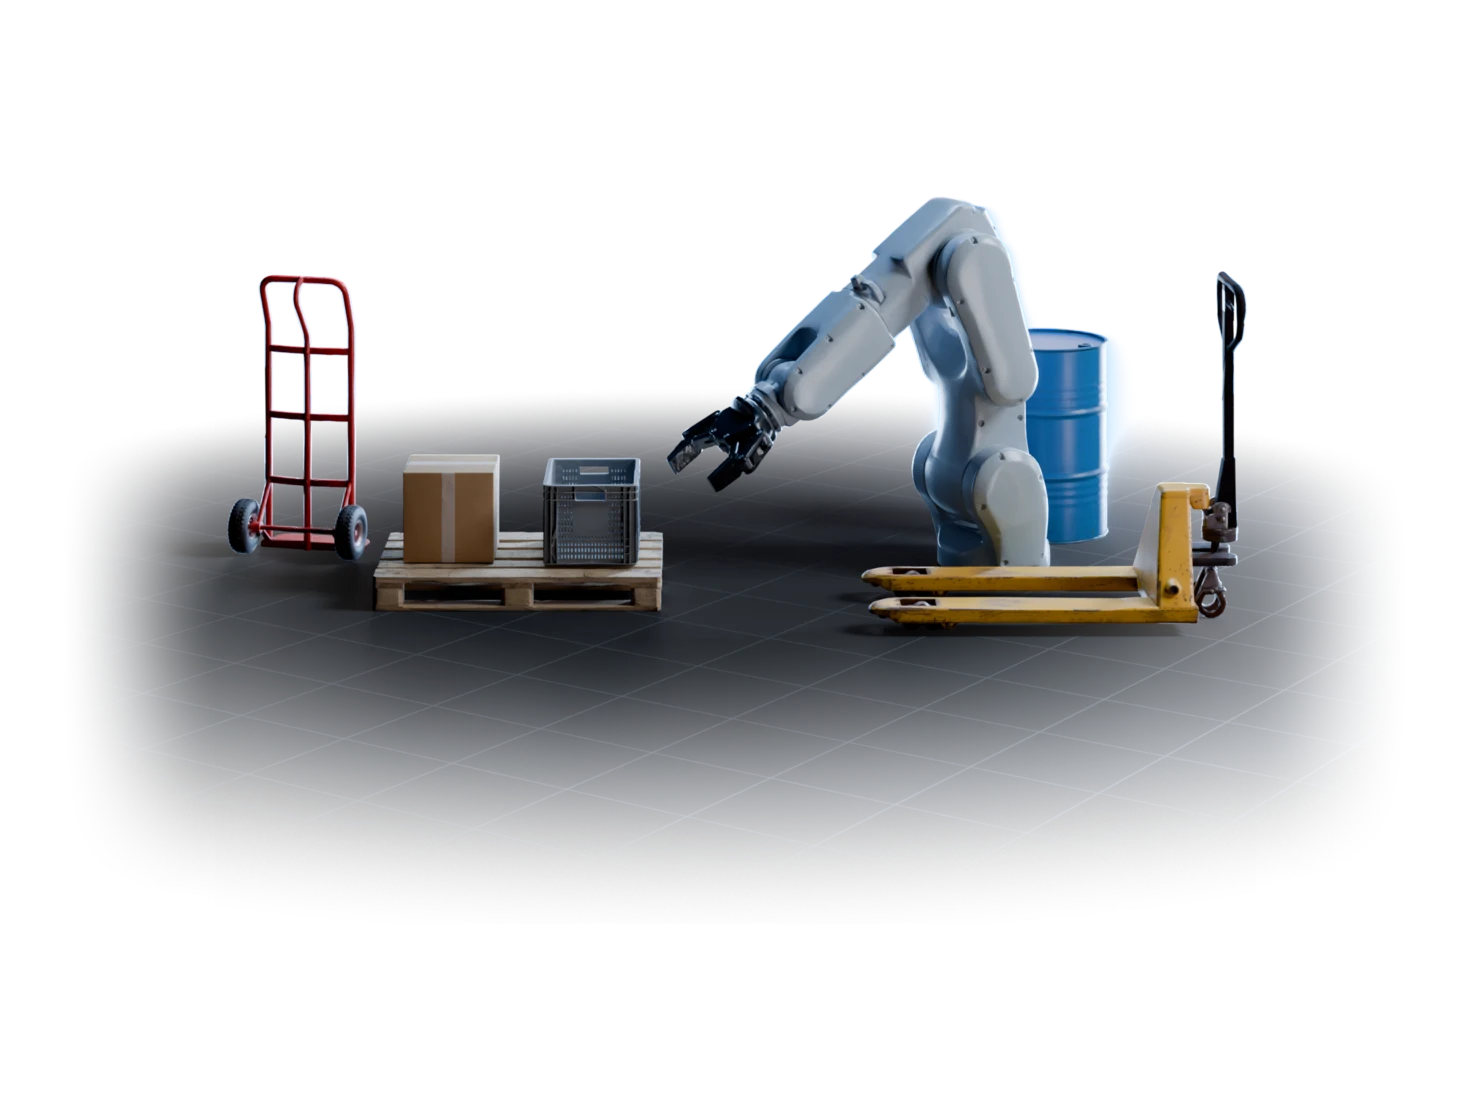
Make one asset at a time
Turn a prompt, a photo or a mesh you already have into a textured prop, a set of finishes, or a material that tiles.
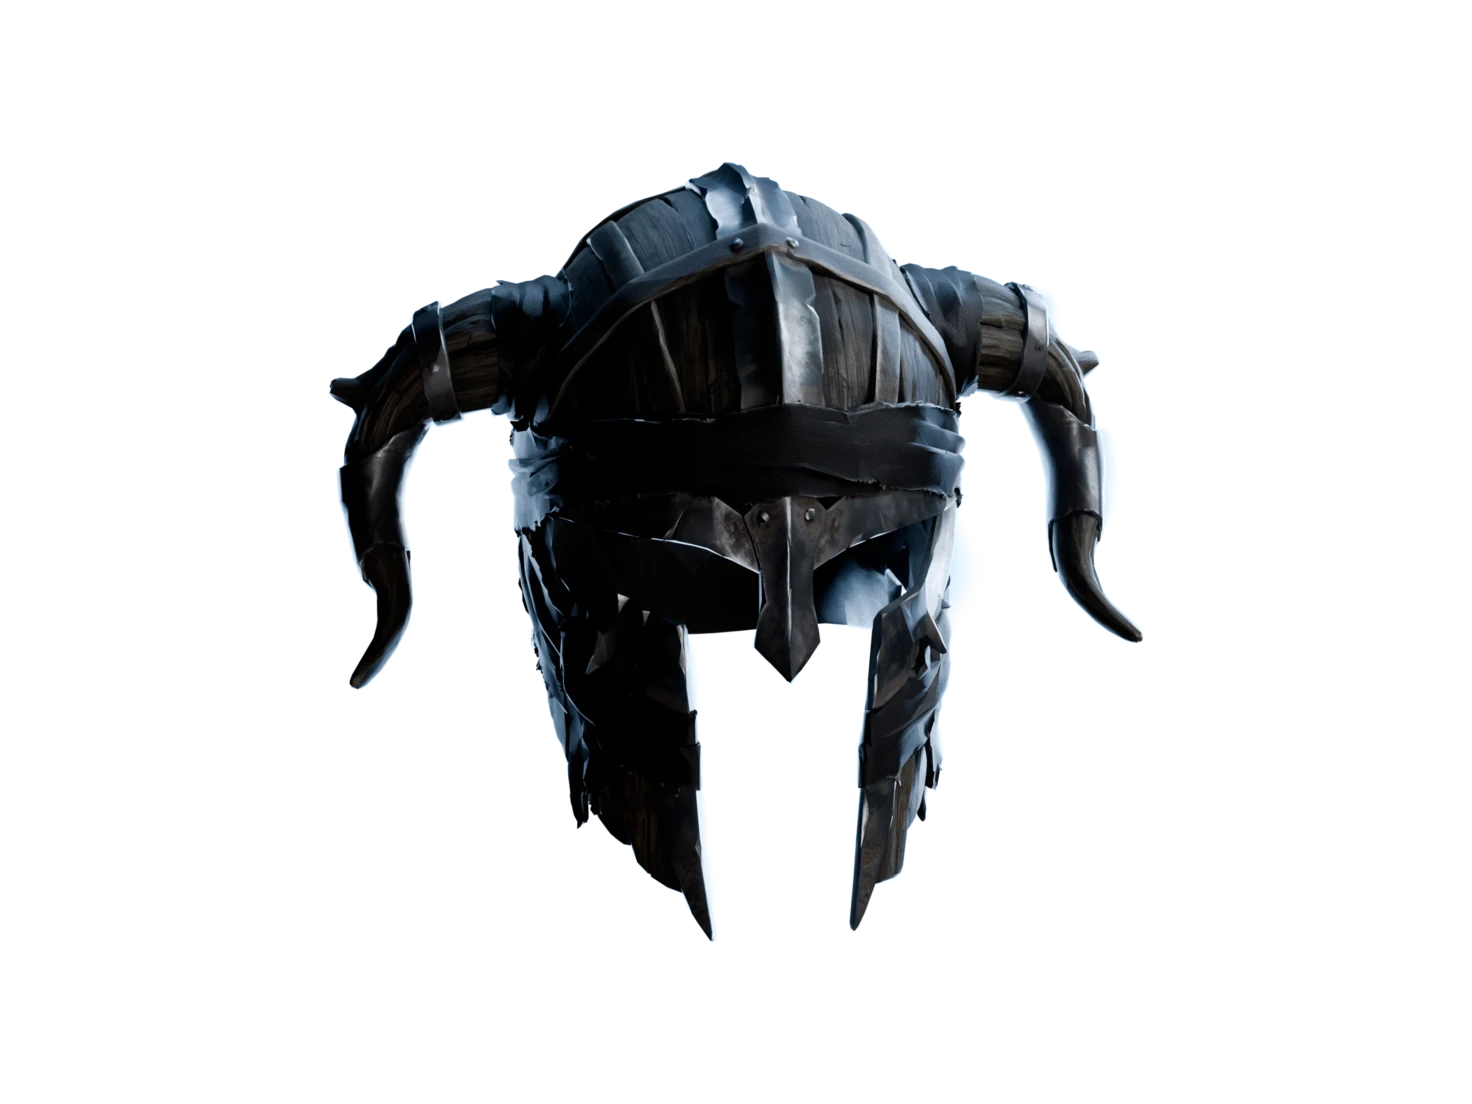
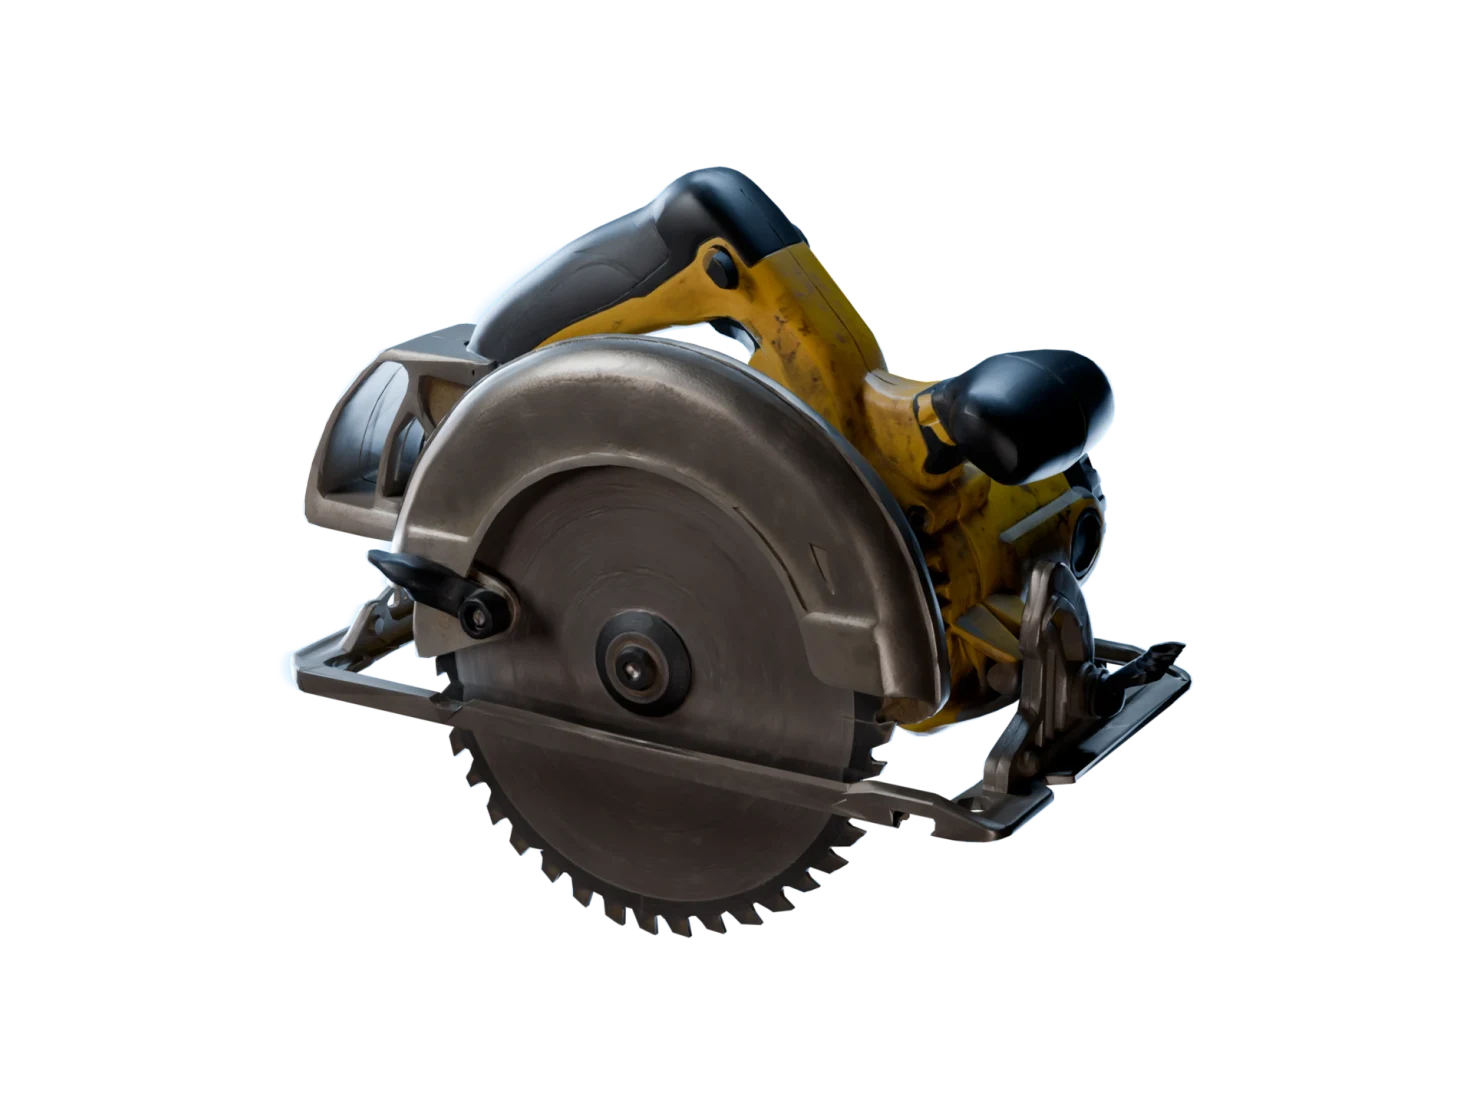
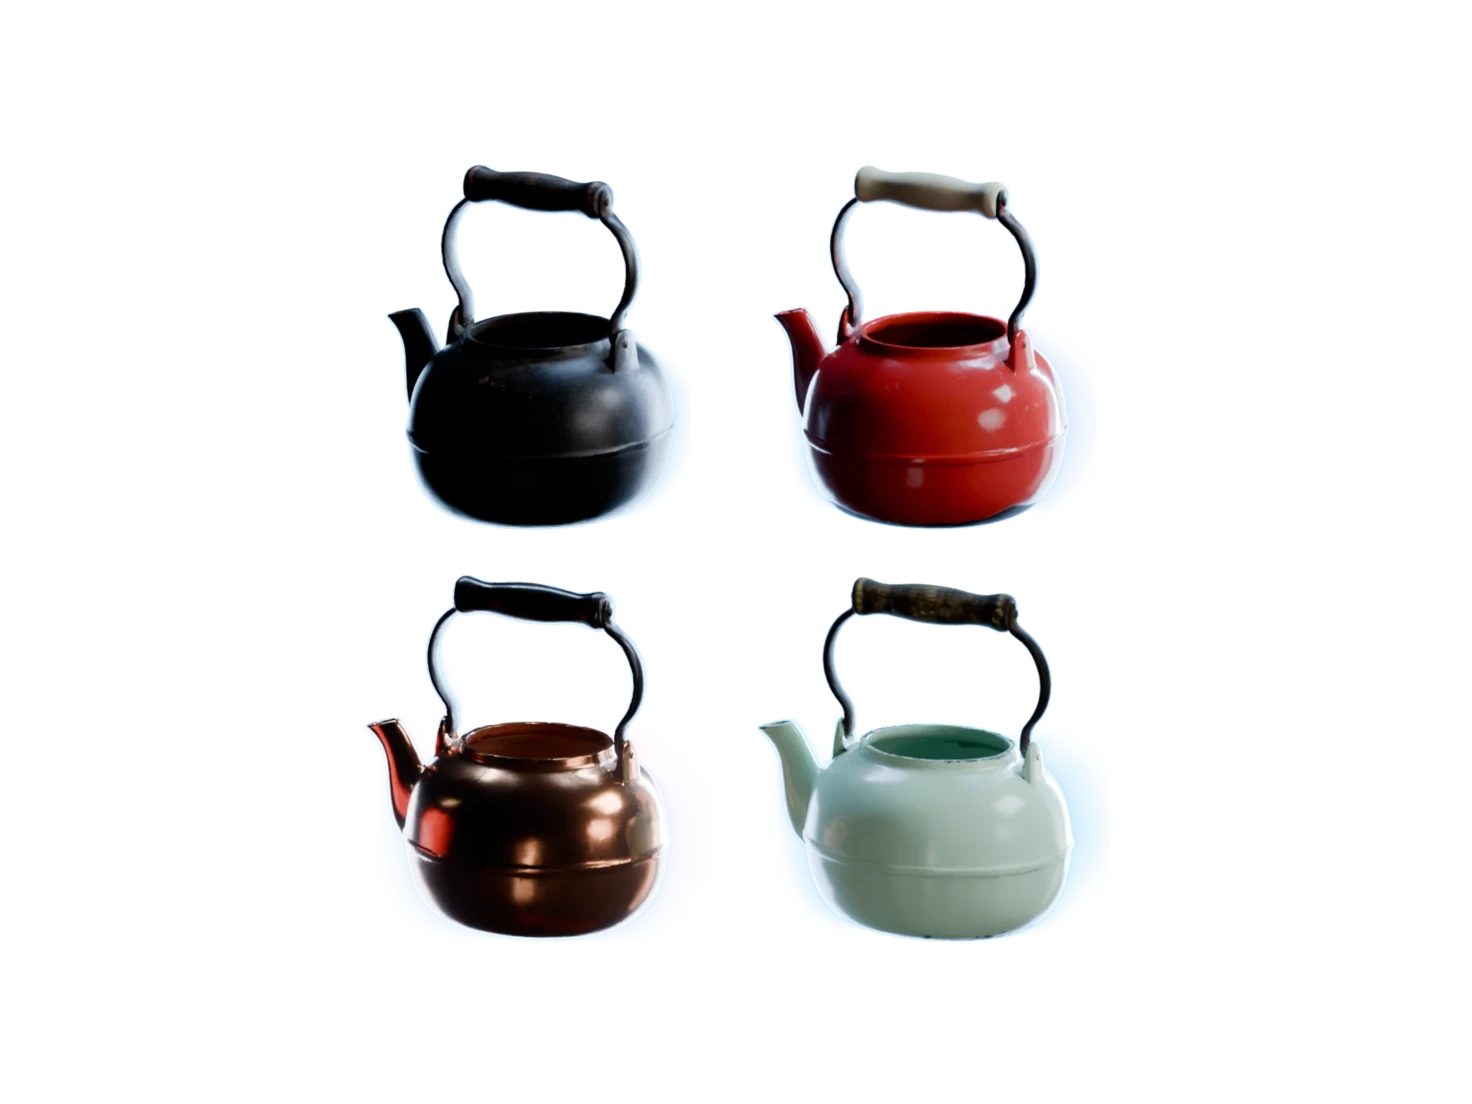
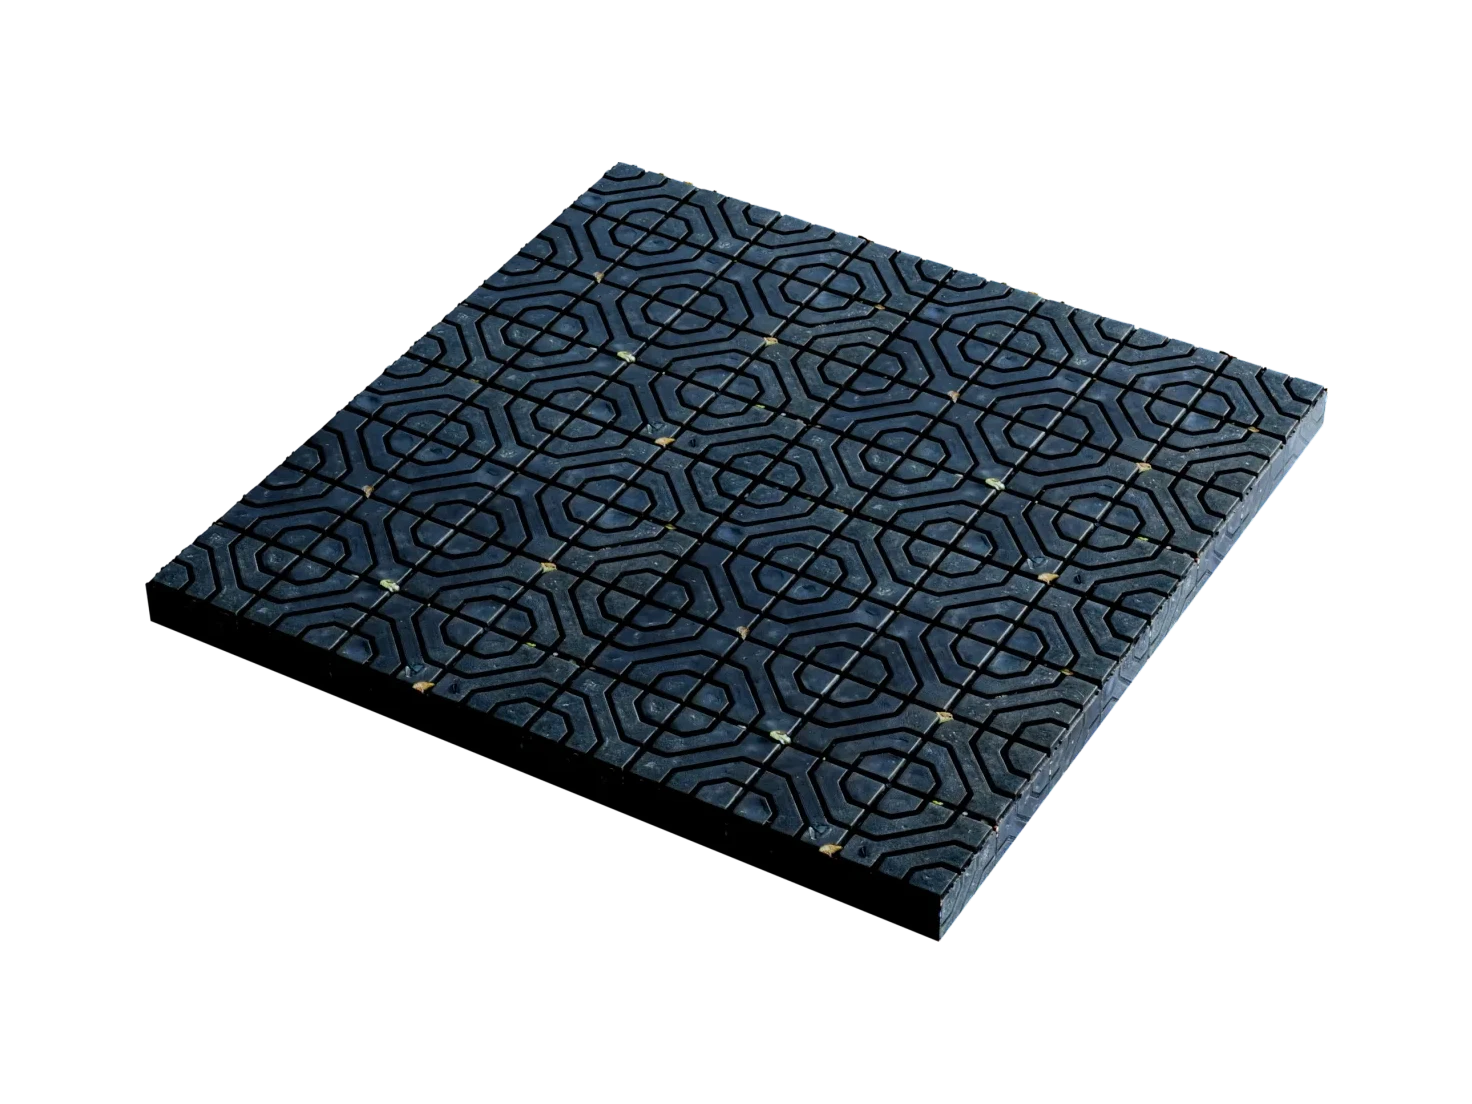
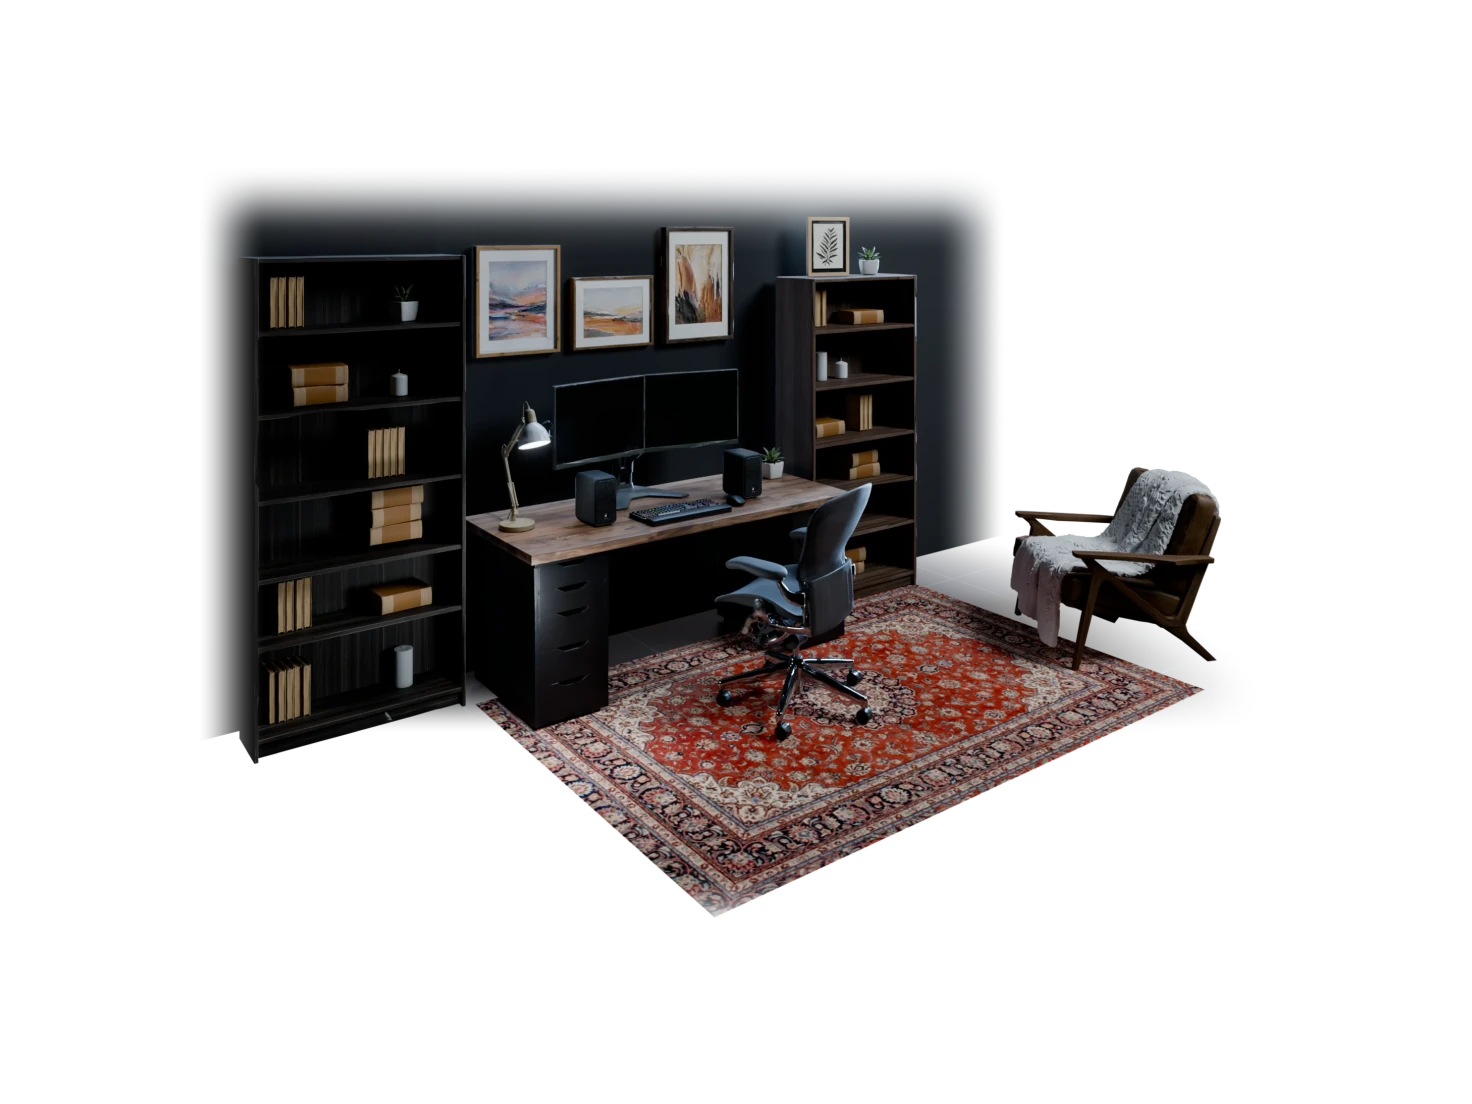
Build a whole scene
Turn one image of a place into a separate 3D asset for each object in it, for a game level or a simulation with physics.
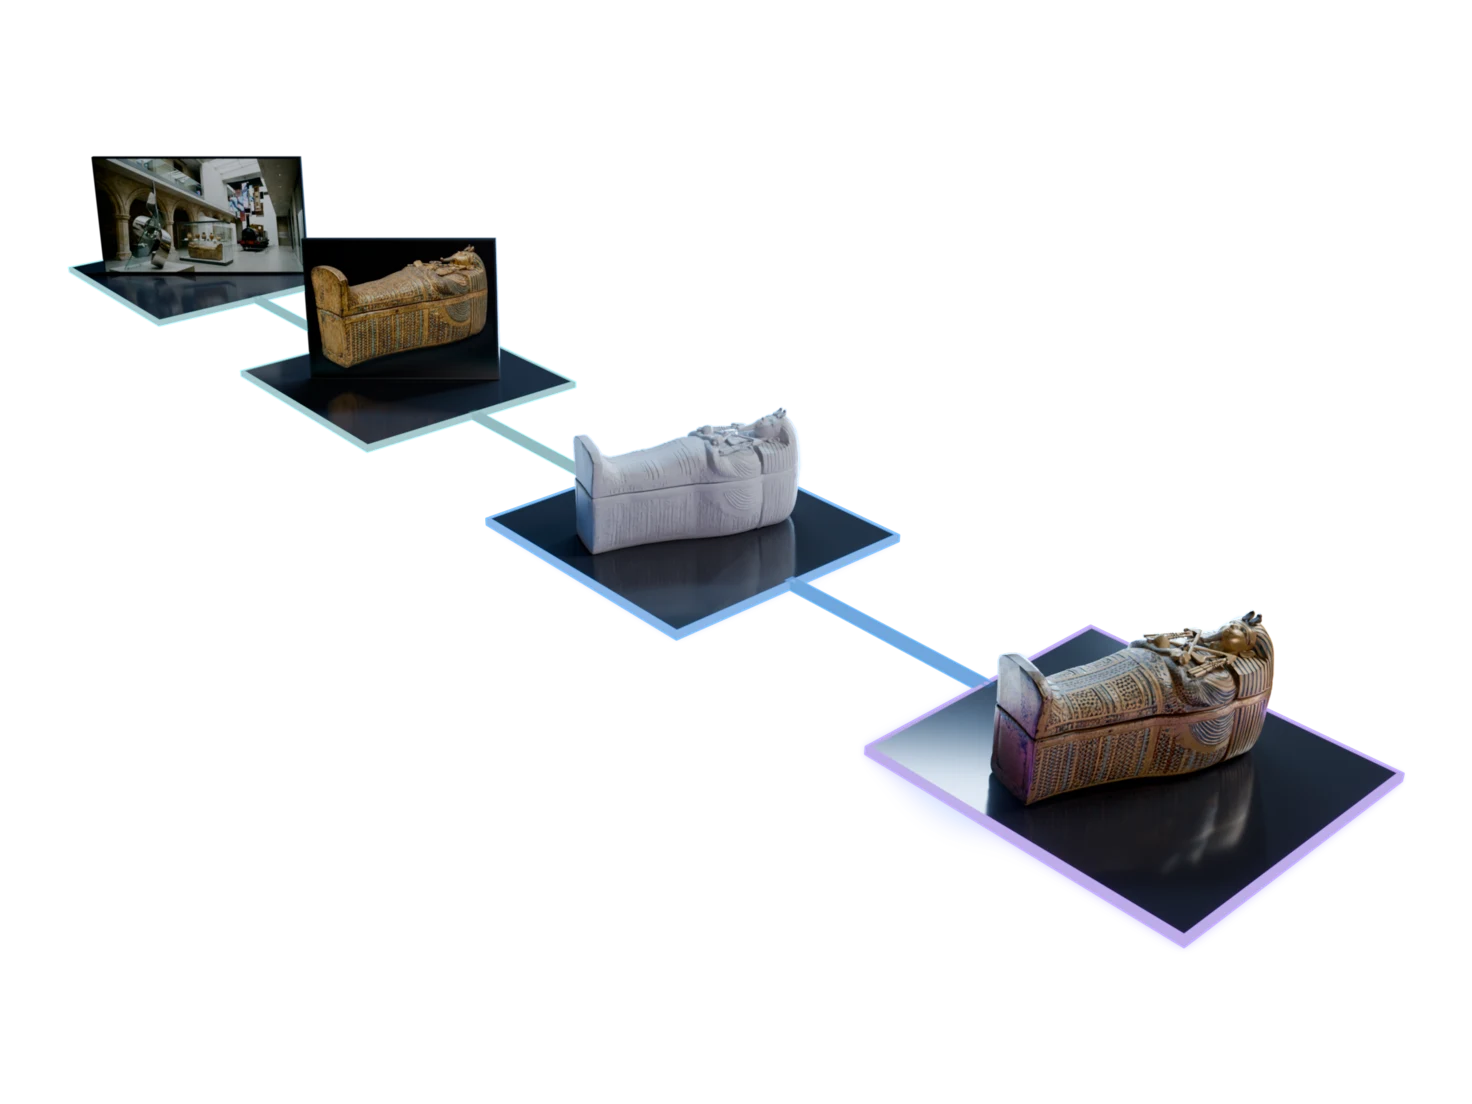
Start from a template
Open a project with the nodes already in place, or take apart a finished example to see how it was built.
Questions about Marso Studio workflows
What teams ask before they pick a workflow.
Start with Game-ready for one prop from a prompt or a photo, or with Auto PBR if you already have the mesh. For a whole room, start with Generate Entire 3D Scenes, and for robotics, with Sim-ready.
You can run the Auto PBR workflow on the Free plan, with its 400 credits a month, and those credits also cover the Tileable textures workflow. The Free plan has single objects only, with no scenes and no downloads. Scenes, Retexture and downloads need a paid plan, and the Artist plan comes with a 14-day free trial, which needs a card.
A feature page covers one node or one property of an asset. A workflow page shows the nodes in the order you run them for one job, and what you get at the end.