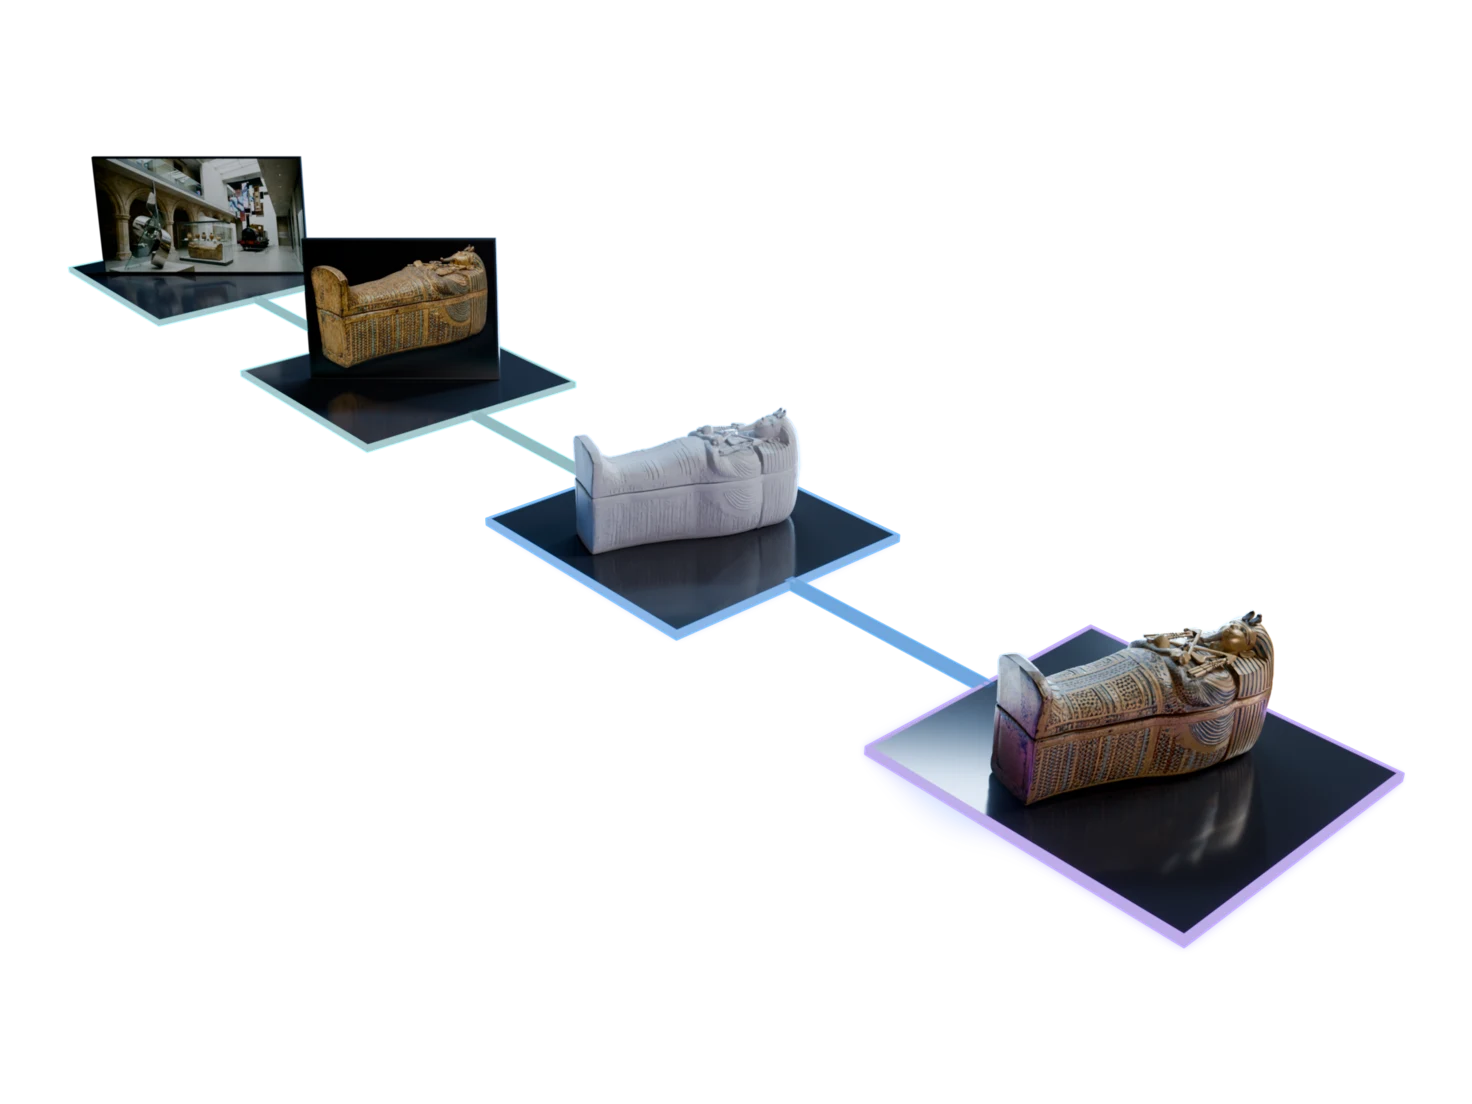
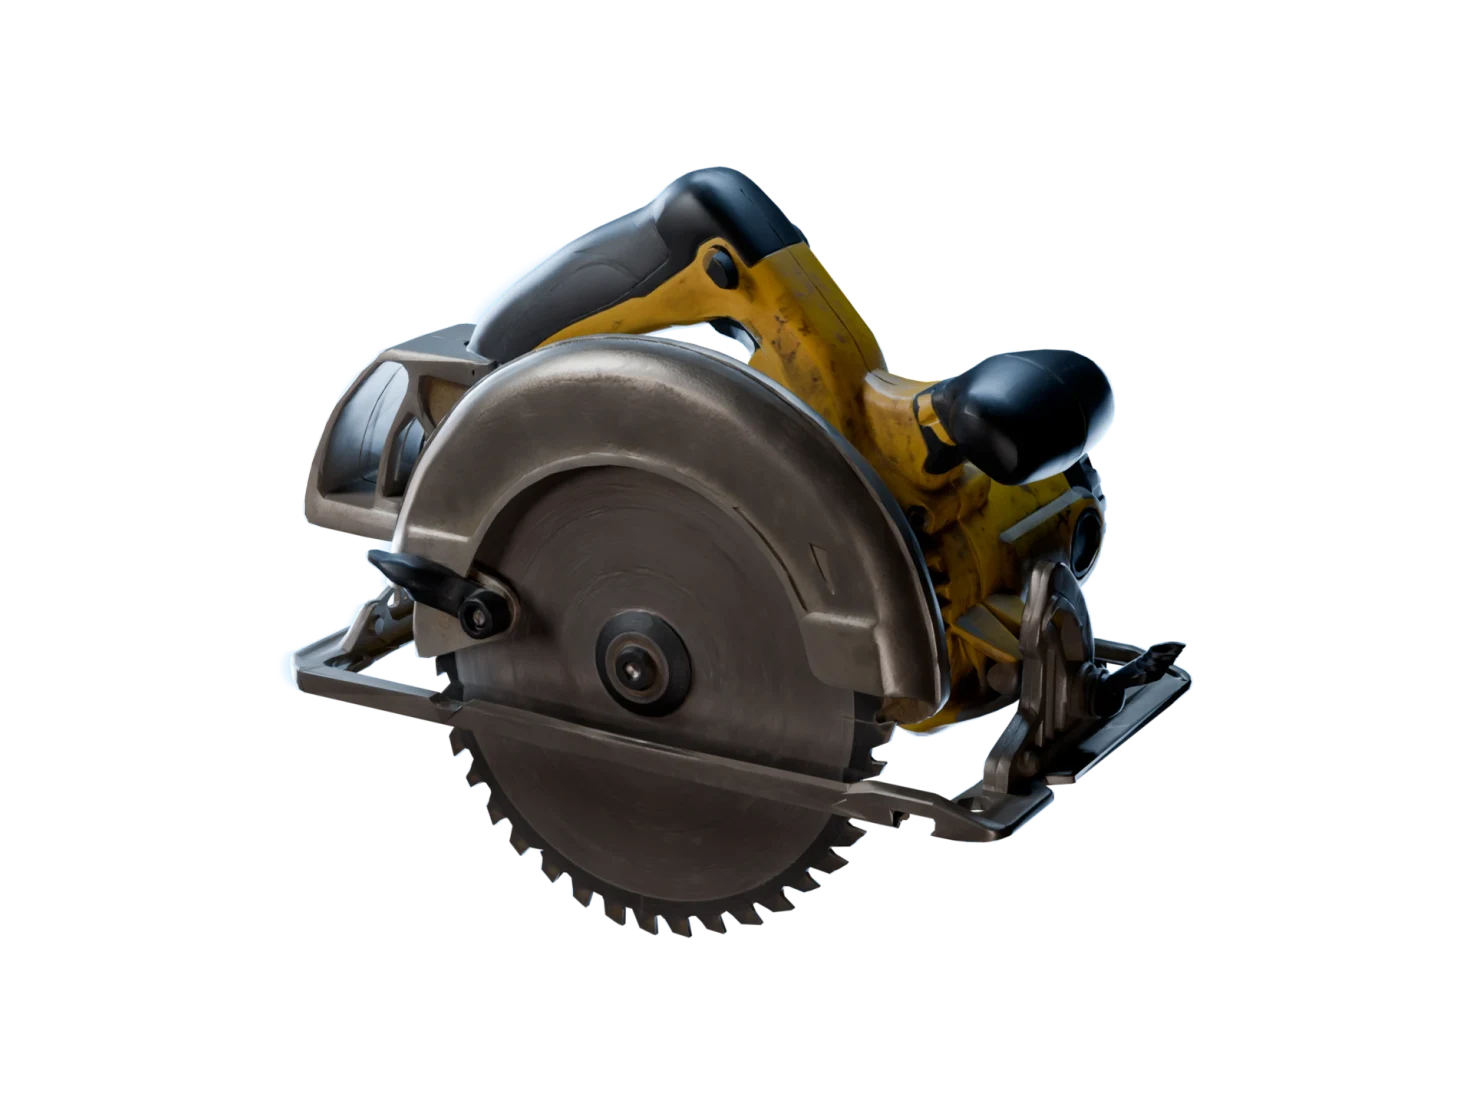
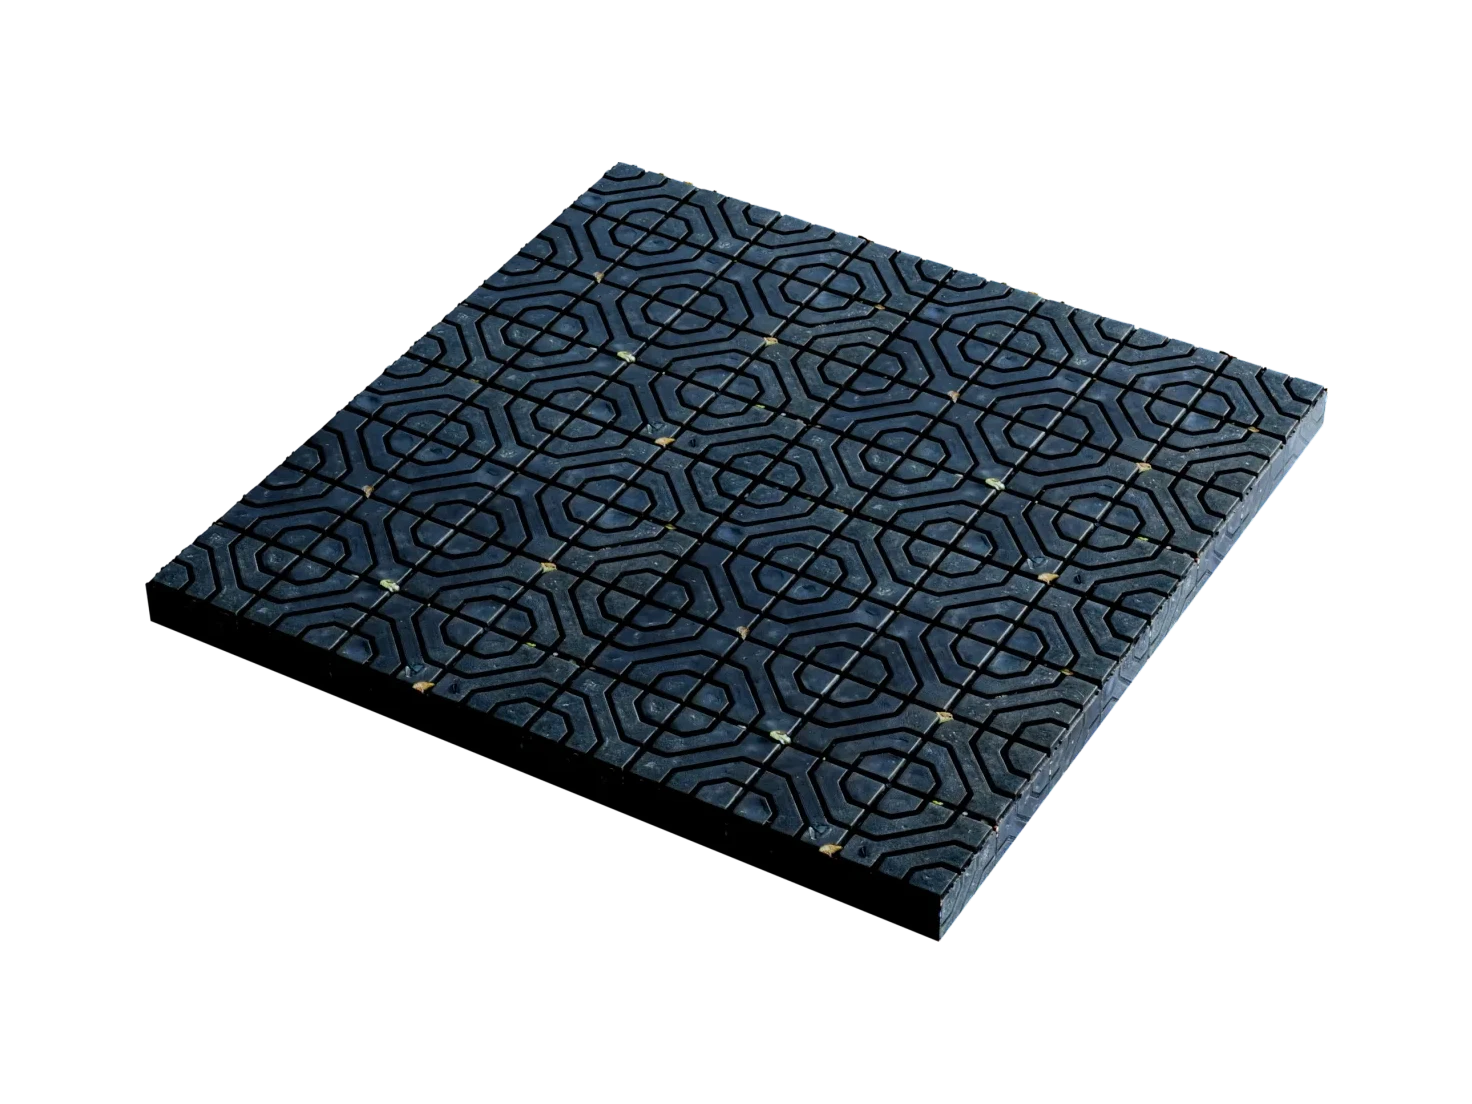
One model, every finish you need
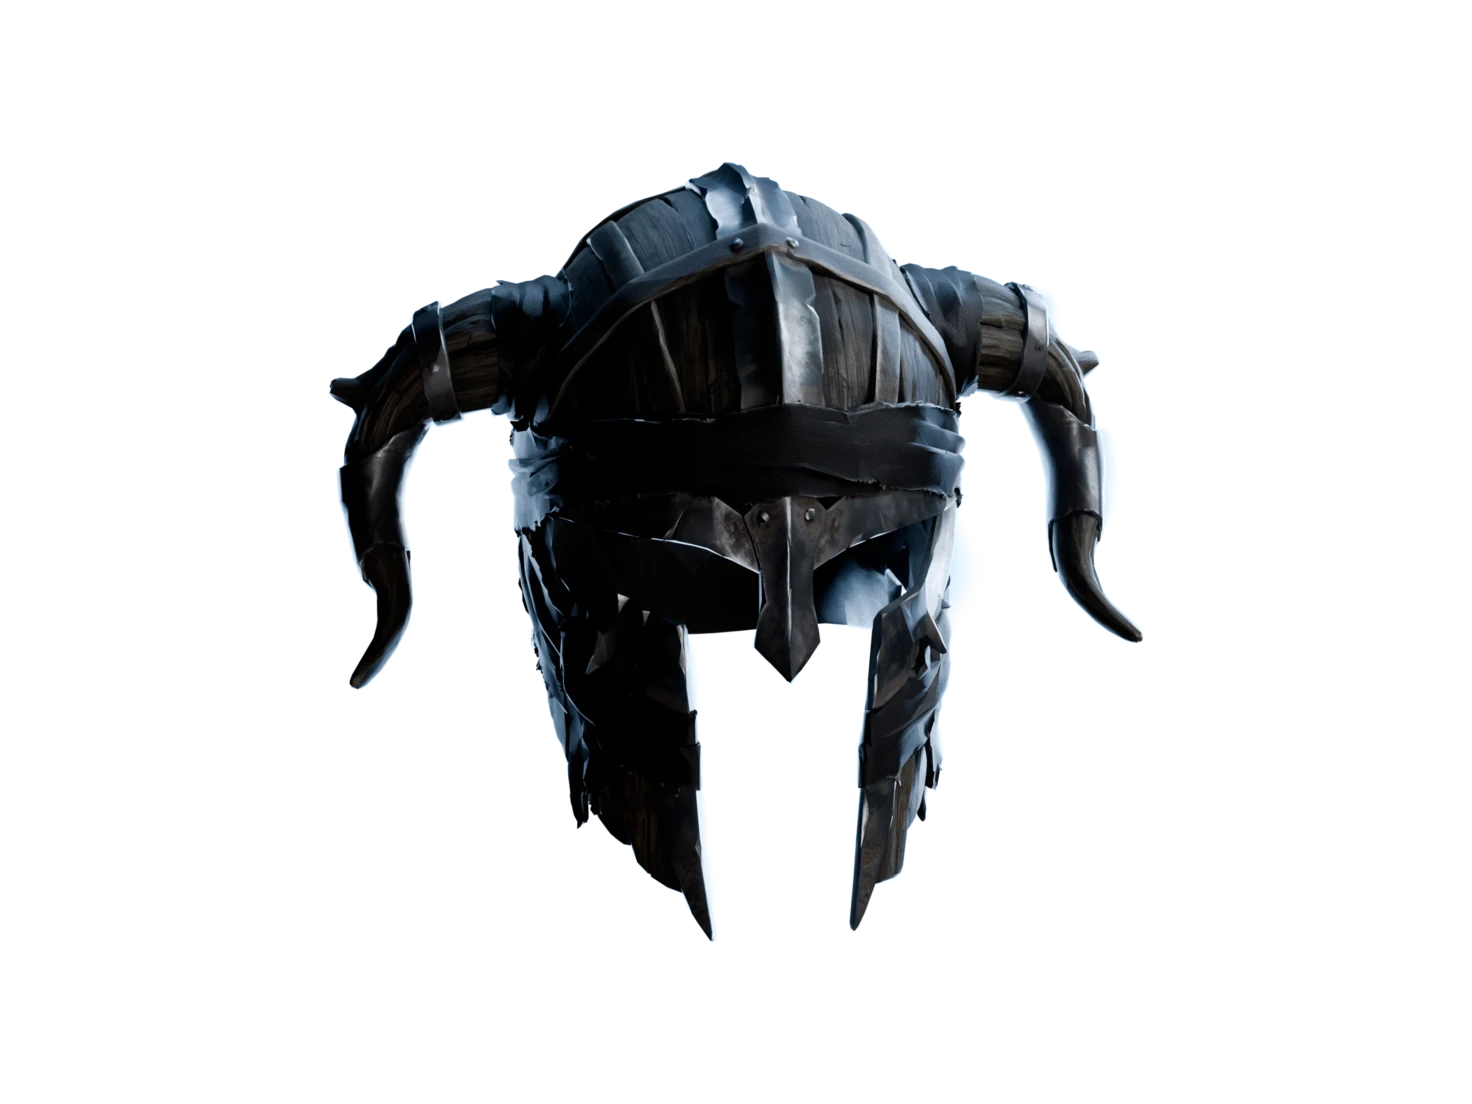
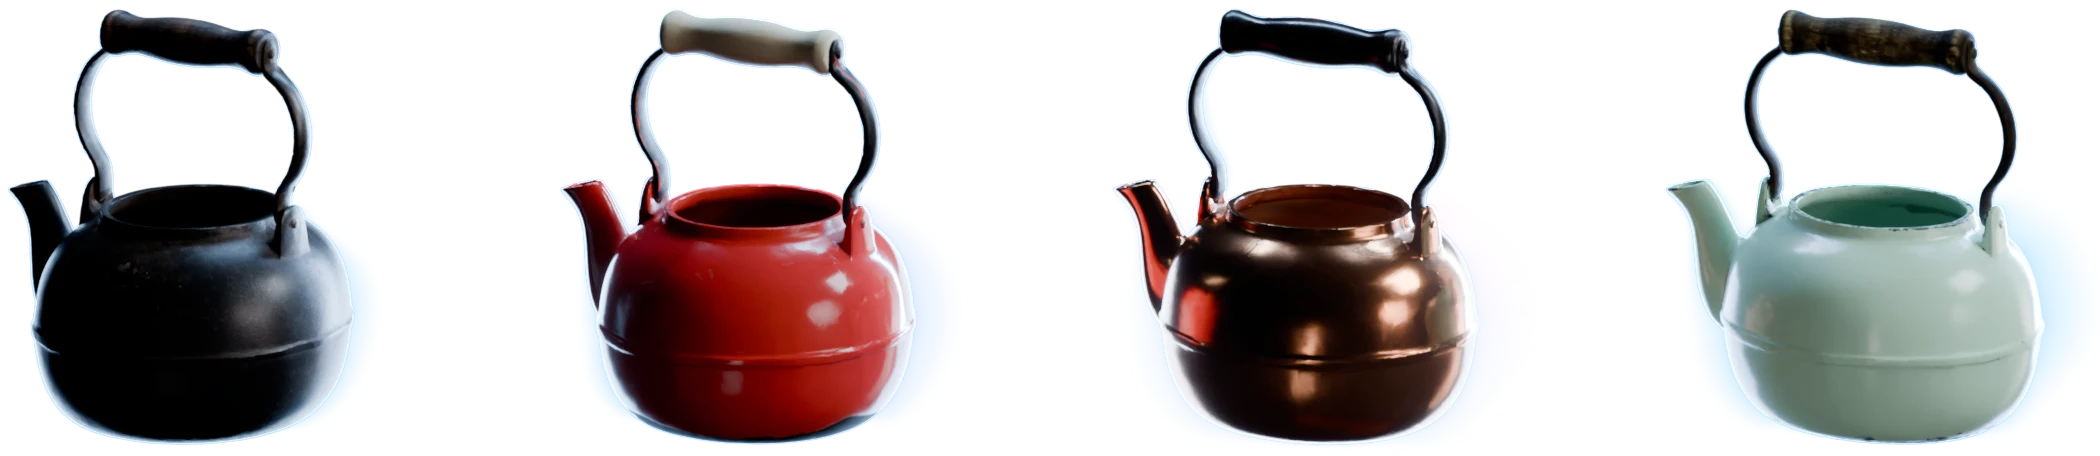
The Retexture workflow in Marso Studio turns one 3D model into a set of variants, clean and worn, painted and bare, from a prompt each. The mesh never changes, so every variant fits where the original did.
Built for
- Game art
- Product variants
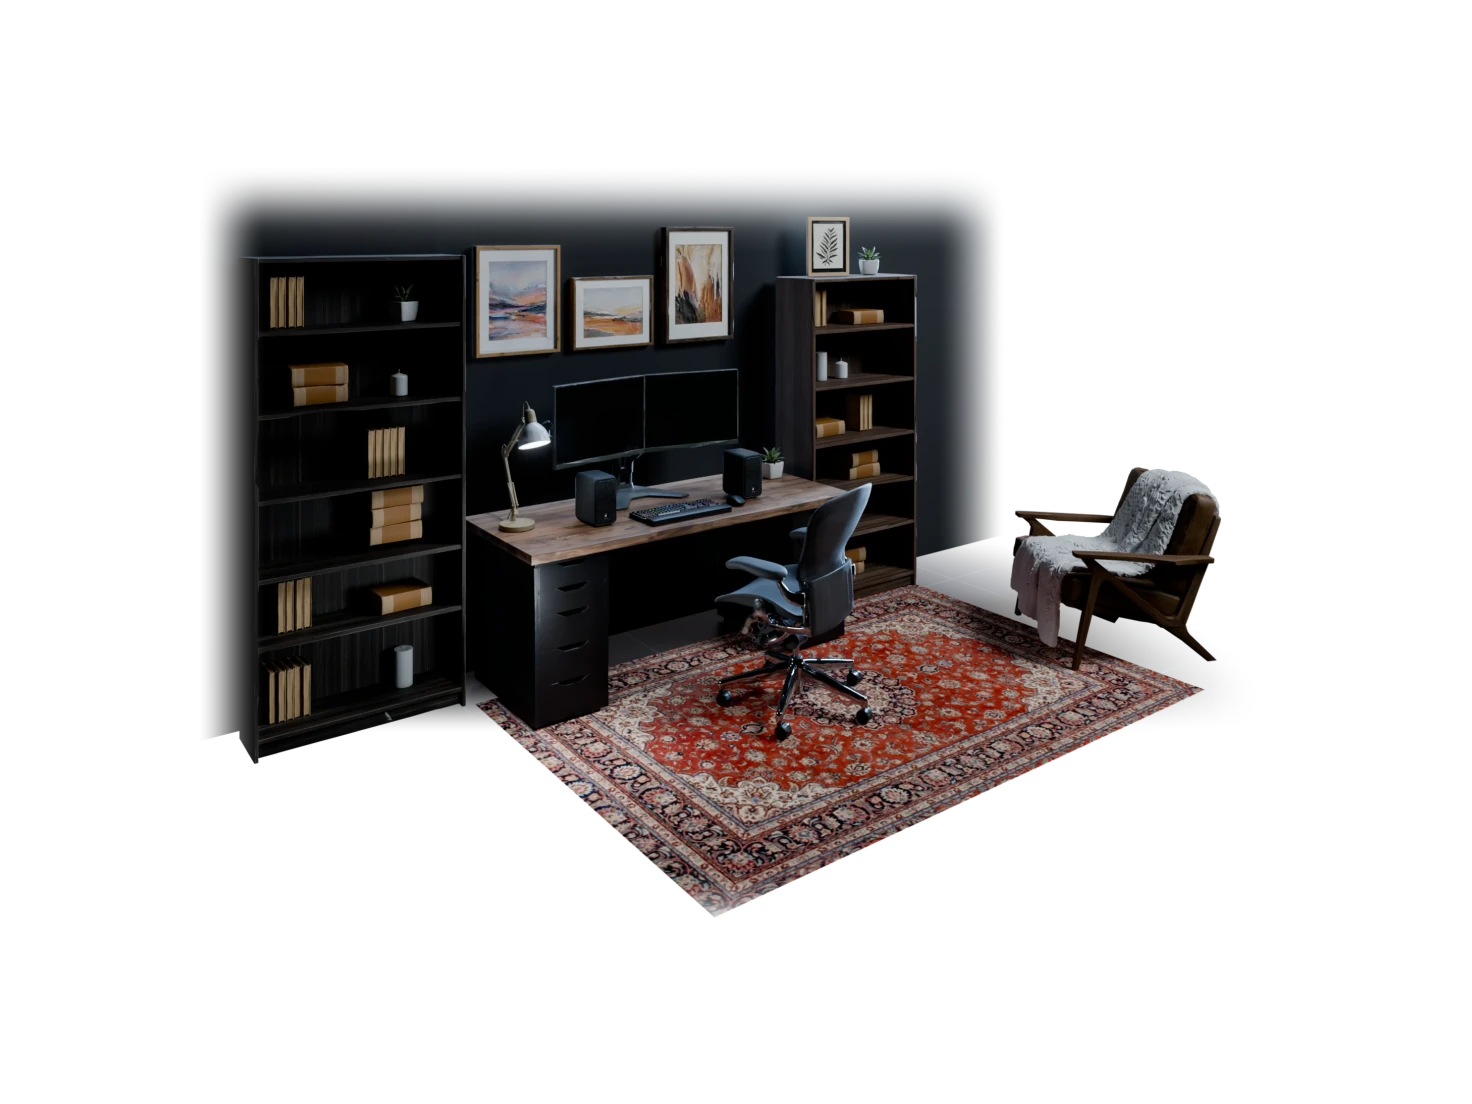
- Set dressing
- E-commerce
How to make variations of a 3D model with AI
- 01
In Marso Studio
Start from one model
Use a result of 3D Generation, or a GLB from your Asset Library whose parts share one colour texture.
- 02
Add a node for each variant
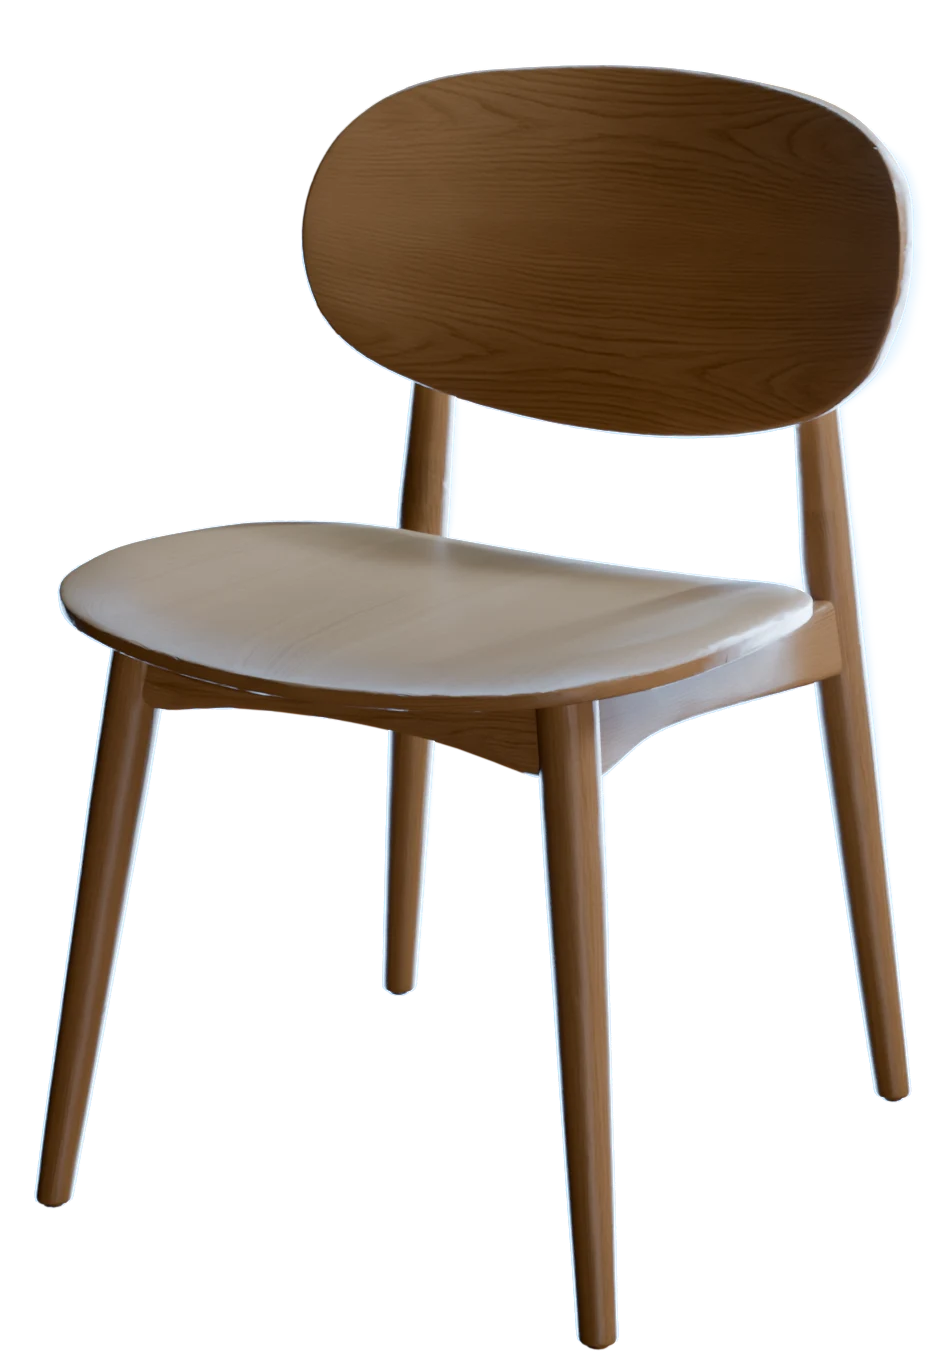
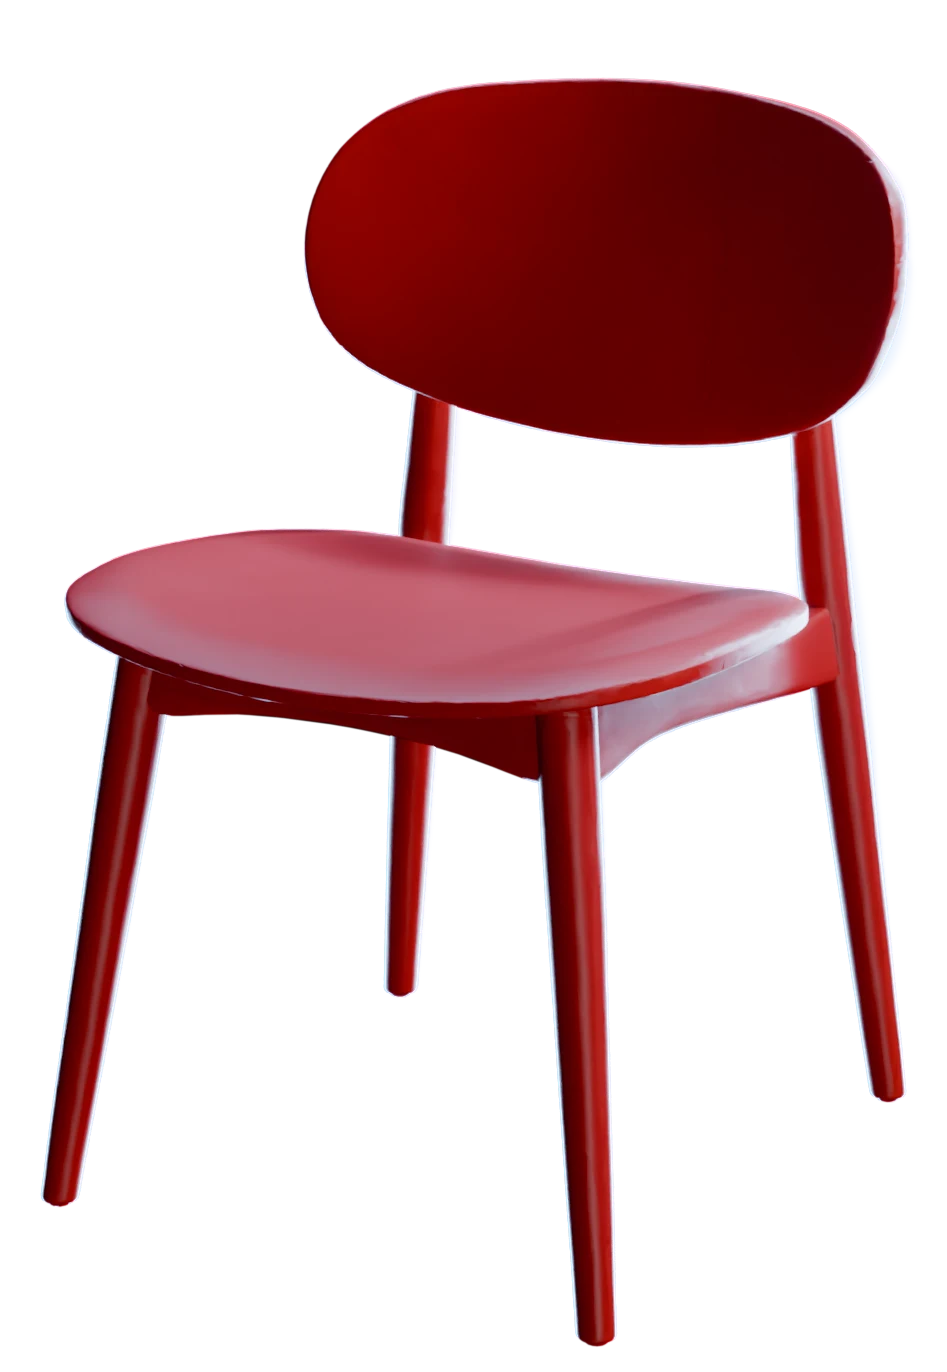
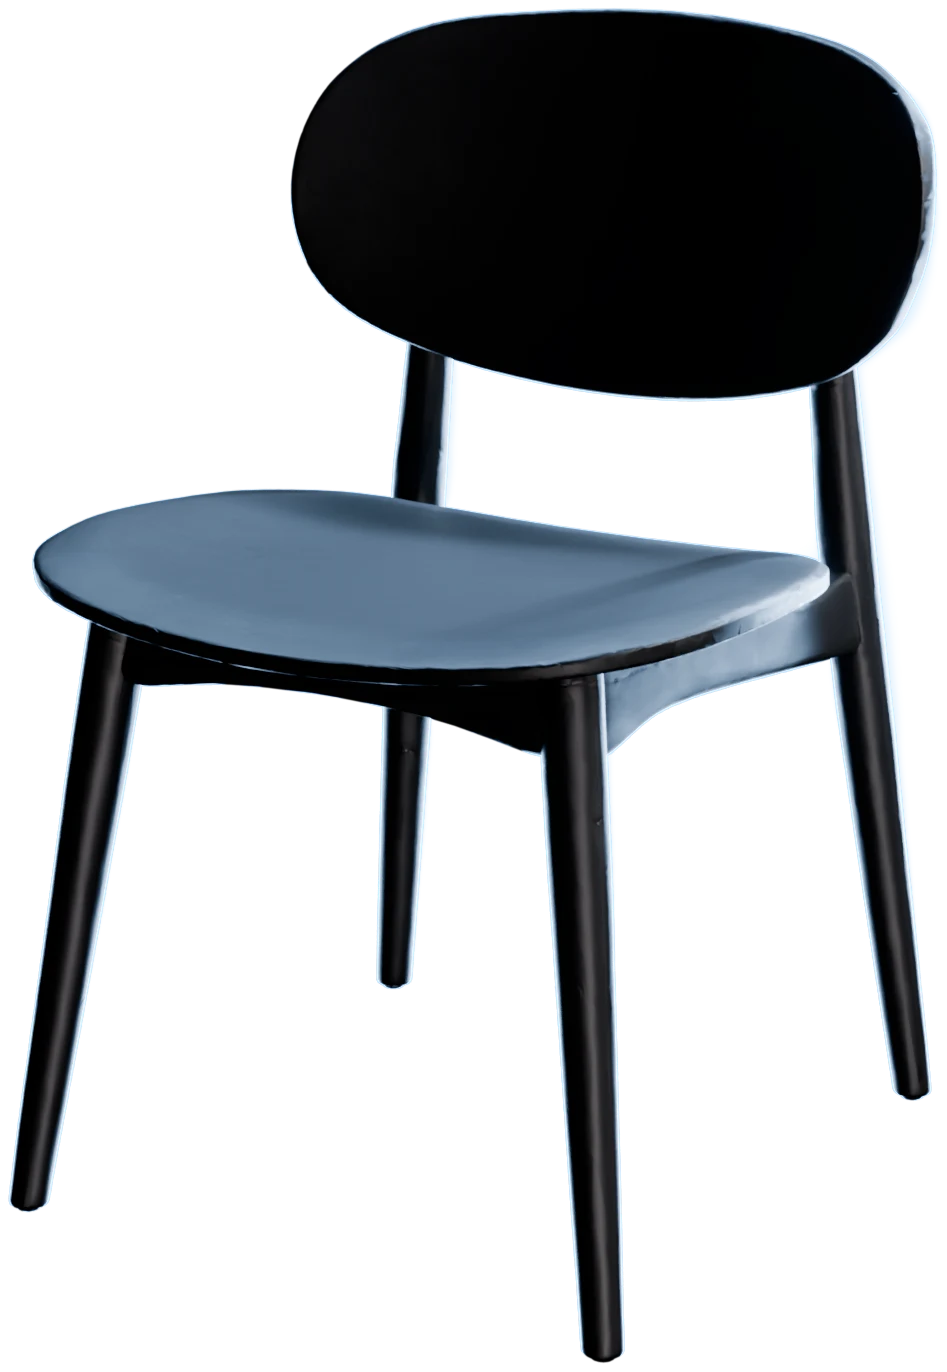
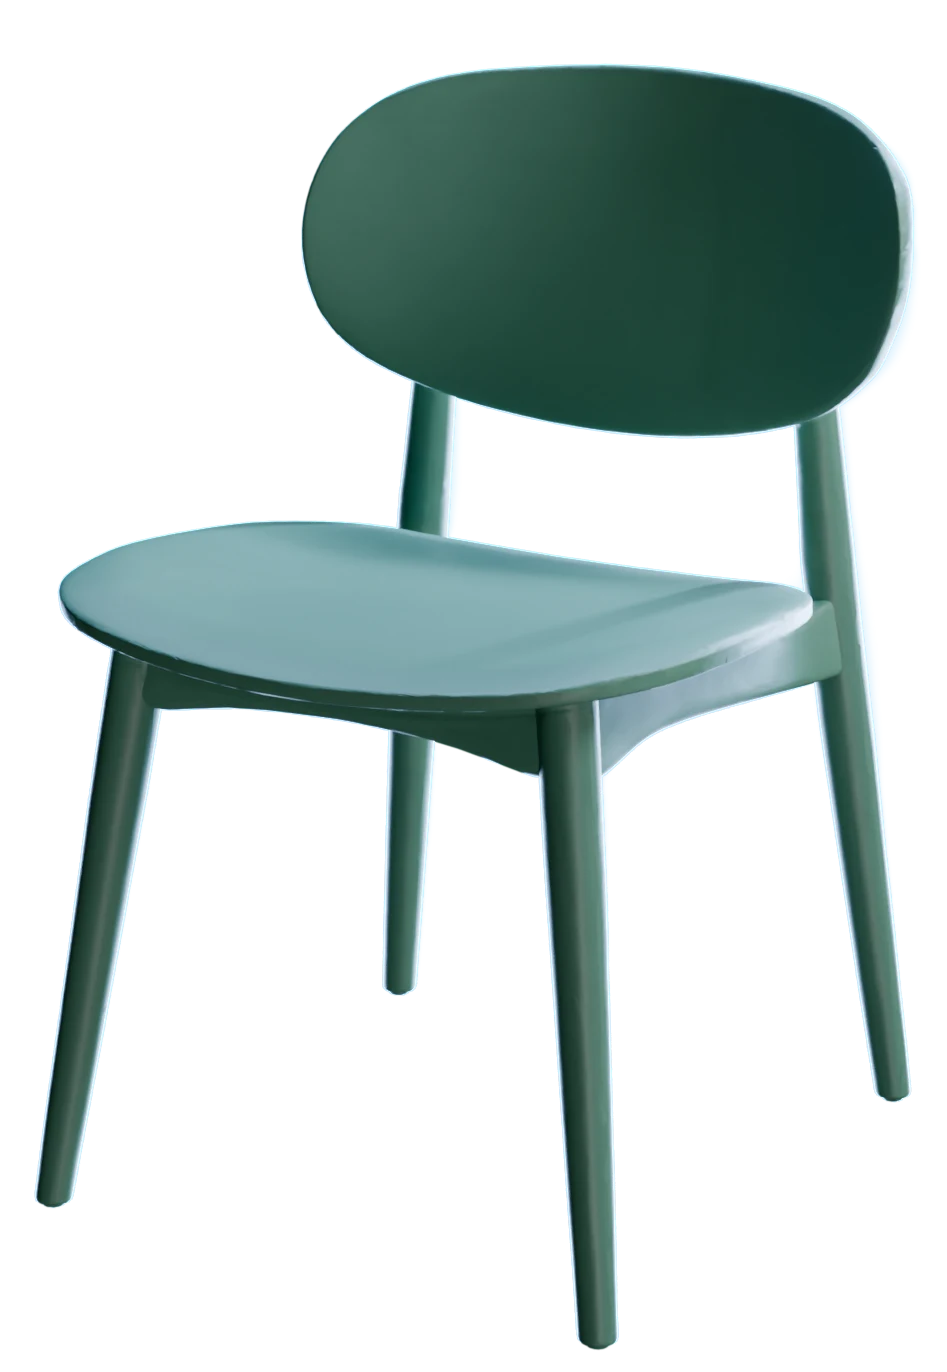
Connect the model to several 3D Retexture nodes and give each its own prompt, like "paint this chair red" or "paint this chair matte black".
Paint this chair red
Sign in to try itPaint this chair matte black
Sign in to try itPaint this chair sage green
Sign in to try it - 03
Match a material from a photo
Optional: connect a reference image to a node, such as a photo of rust or a fabric swatch, and that variant takes its colour and pattern.
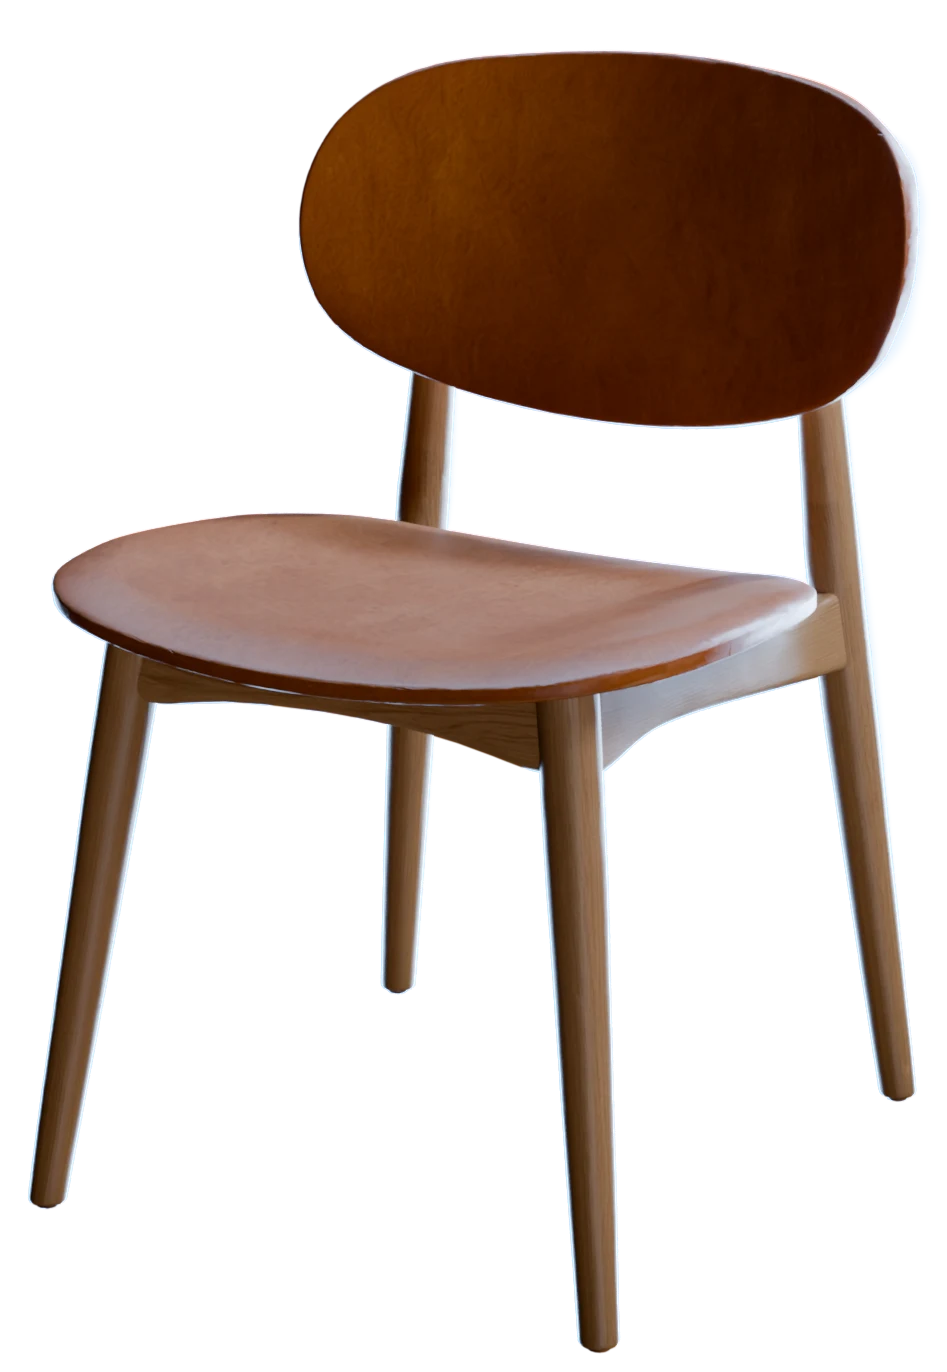
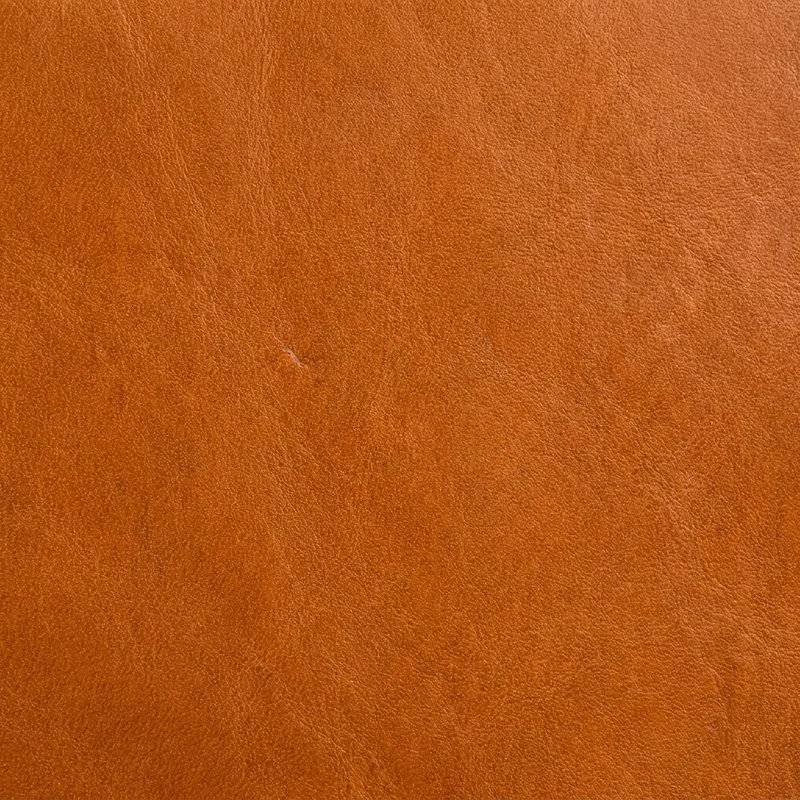
Cover the seat and the backrest in
Sign in to try itleather, and keep the legs and the frame in light oak - 04
Run them, then add PBR
Each run repaints the colour texture. Send every variant to Generate PBR Textures for its full set of maps.
- 05
In Your Library
Keep the set together
Each variant is a new asset in your library, linked to the model it came from, so you can come back and add another finish later.
What changes, and what stays
What every variant shares with the original.
- Mesh
- UnchangedSame geometry, same UVs, same size, so each variant lines up with the original.
- Colour texture
- RepaintedFrom your prompt, and from a reference image when you add one.
- References
- 1 per variantA swatch, a photo of a material or a print.
- Original
- UntouchedEach run saves a new GLB. The model you started from stays as it was.
- PBR maps
- 5 per variantAlbedo, roughness, metallic, IOR and normal, predicted for each finish.
Use the whole range
- Unreal Engine
Unreal Engine
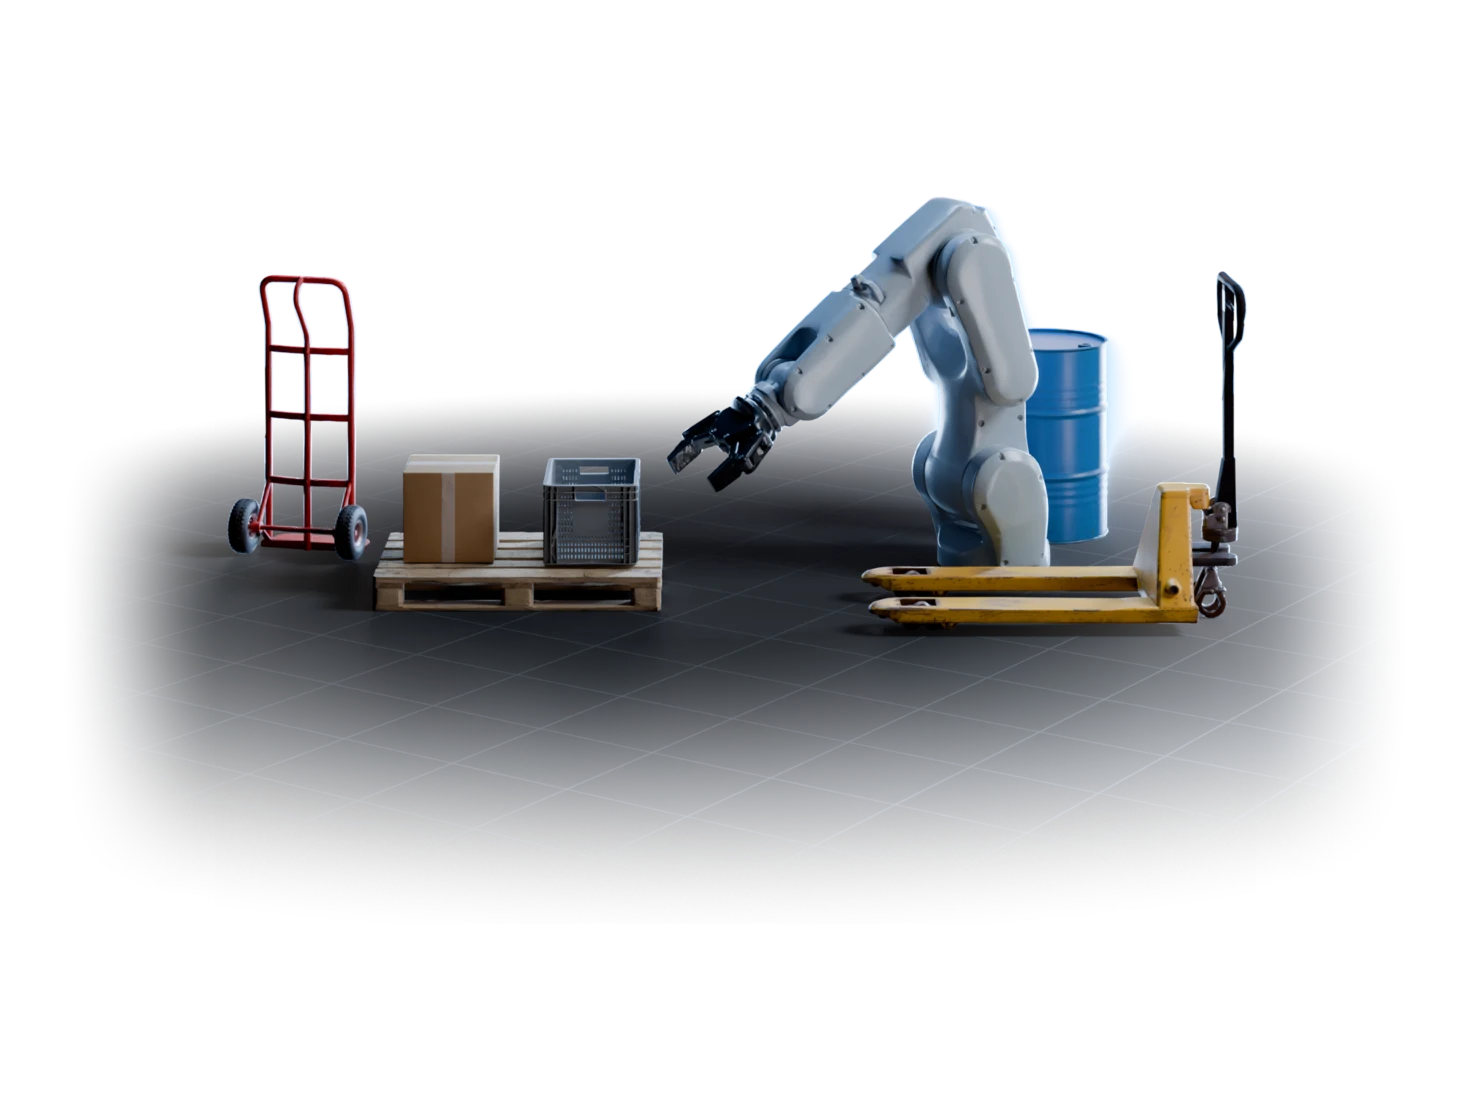
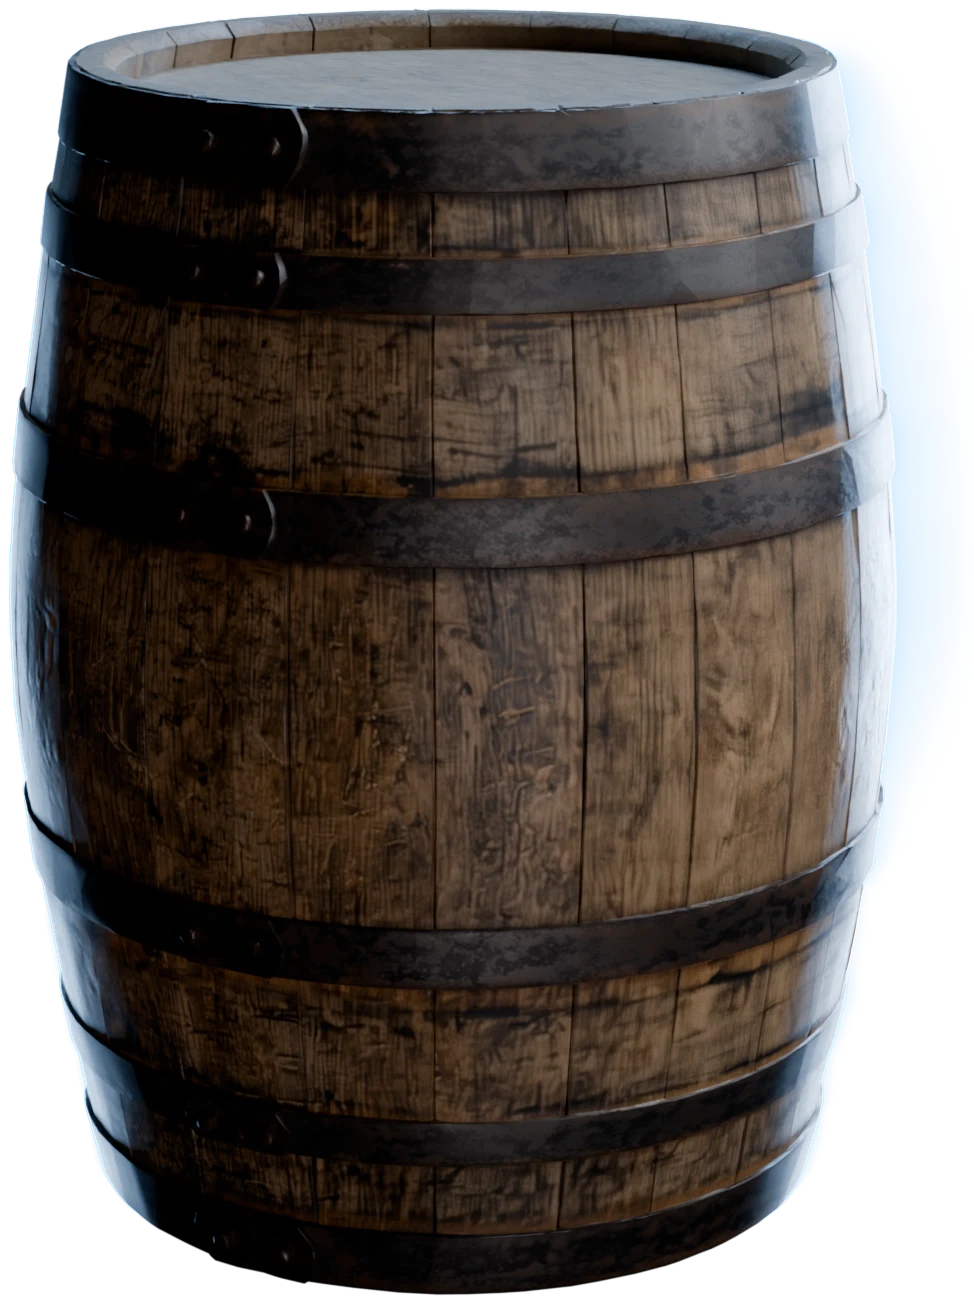
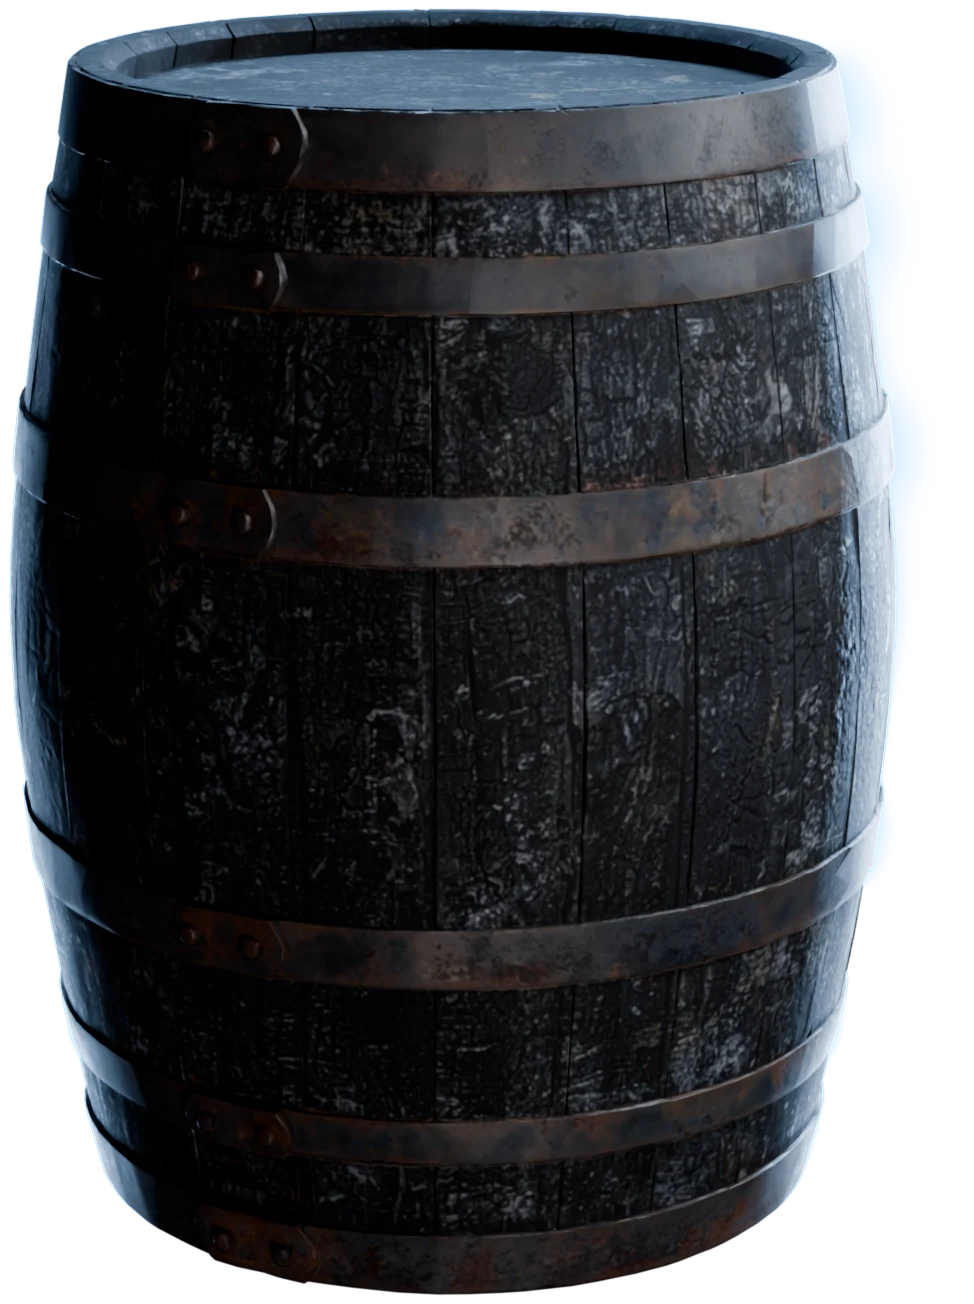
Import each variant as USD. The variants line up, so swapping the clean crate for the burnt one keeps it in place.
- Blender
Blender
The Blender add-on imports any variant from your library as USD, from the sidebar of the 3D Viewport.
- .usdz
Any tool that reads USD
Download each variant as a USDZ with its maps built in, for Unity, Omniverse or a product configurator.
Questions about the Retexture workflow
What artists ask before they turn one model into a range.
Use the Retexture workflow in Marso Studio. Connect one model to a 3D Retexture node for each variant, and describe the finish in each prompt. Every run repaints the colour texture, keeps the mesh, and saves the variant as a new asset. Then add PBR textures to each variant to finish the set.
3D Retexture is the node that repaints a model once. The Retexture workflow is the whole route around it: one model into many variants, each with its own PBR maps, kept in your library and linked to the model they came from.
The Retexture workflow takes a GLB whose parts all use one colour texture, such as a result of 3D Generation. 3D Retexture is in preview, and the node tells you when a model doesn't fit. For a model in another format, Auto PBR can still give it PBR maps.
No. The Retexture workflow only repaints the colour texture, so every variant keeps the geometry, the UVs and the size of the original. To change the shape, edit the image that goes into 3D Generation, for example with Image Edit, and generate a new model.
Yes. 3D Retexture comes with every paid plan, from the Artist plan, and with its 14-day free trial, which needs a card. The Free plan does not include it.